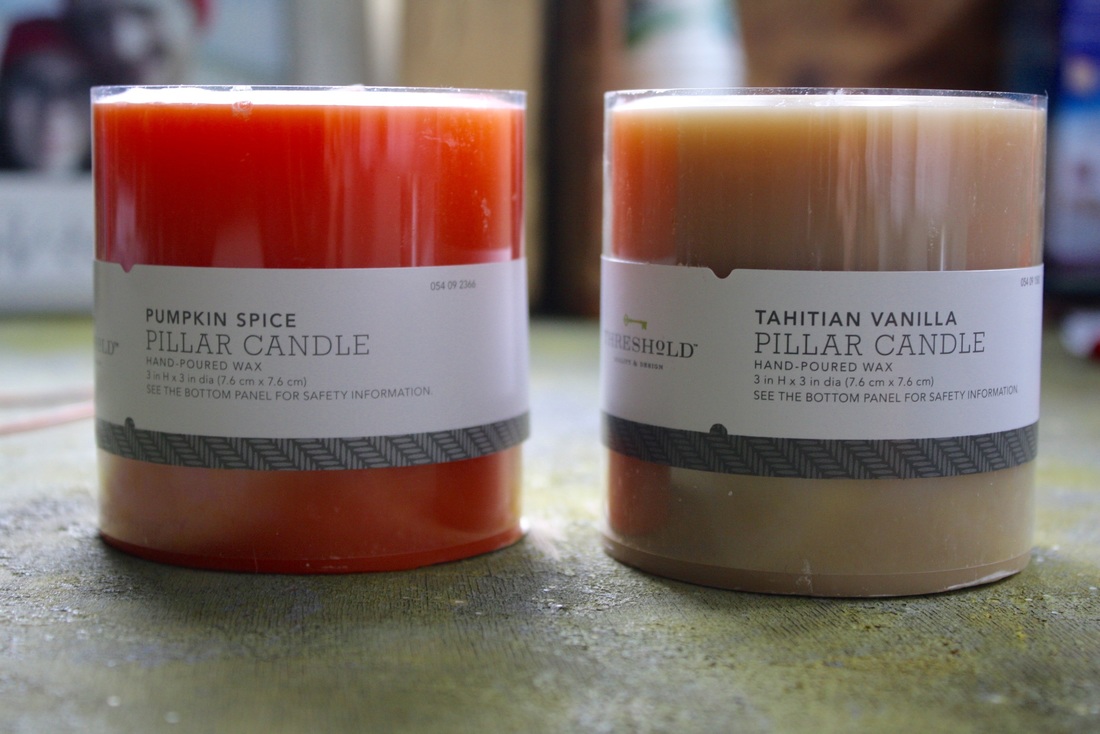
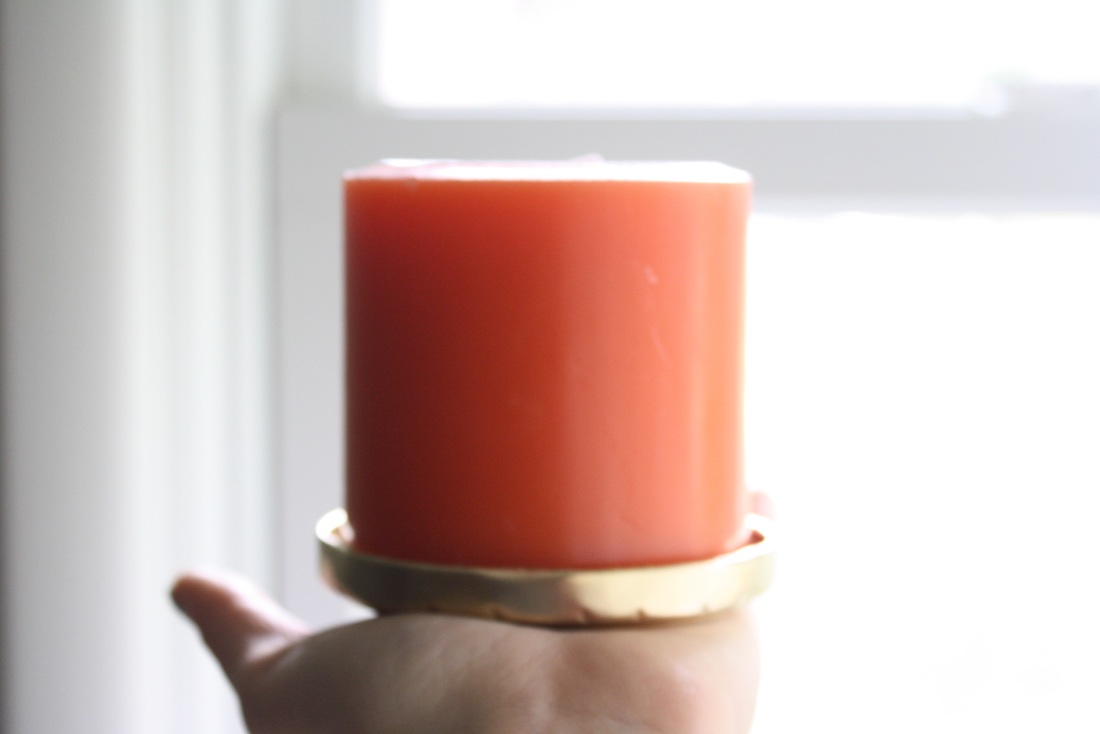
 I went over to dinner at my sister's house and it smelled lovely. I stood in her kitchen and inhaled the lovely aroma before inspecting the candle nearby (though the food smelled lovely too), pumpkin pie scent as it turned out. So on my next jaunt to Target I made a point to stop at the candle isle and deliberate. One candle? Two candles? Big small? And what will I set them on? I wanted a pretty candle holder, but decided I'd rather have two candles and make holders, than have one candle with a pre-made holder. 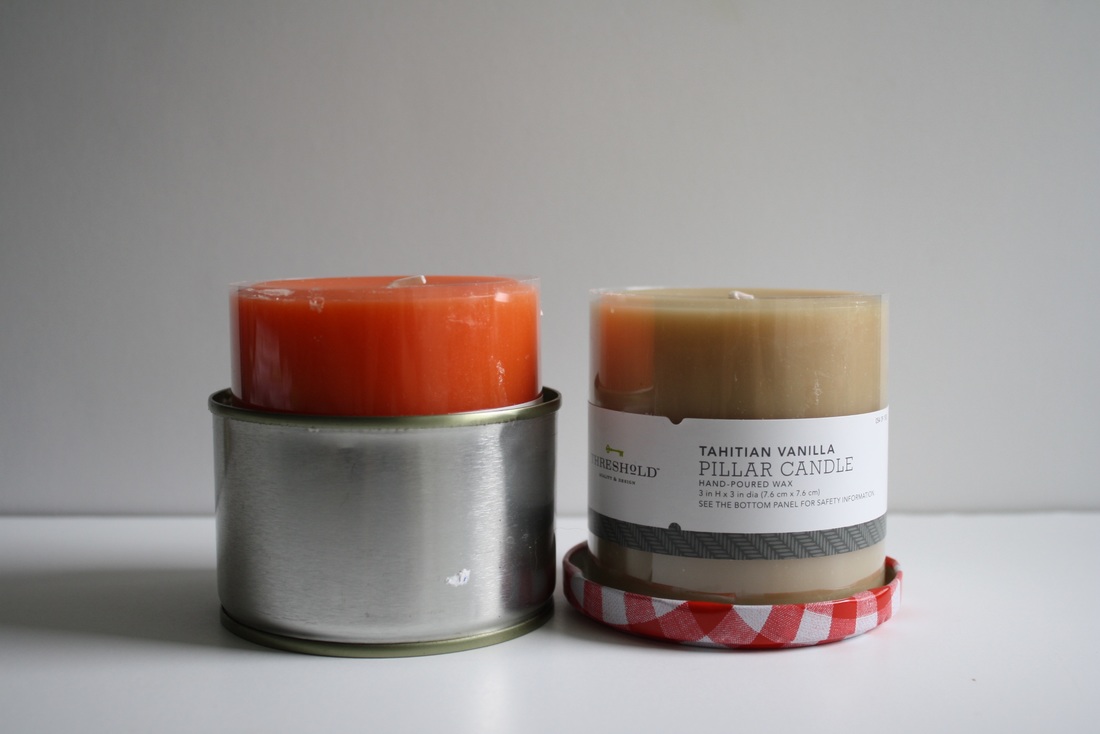 So I came home with my two lovely candles (and all the other things that willed their way into my cart) and began to search. Jars? Too small. Box of junk? Nothing. Finally after many trips to and fro around the house I remembered the saved-for-no-reason-but-I'm-sure-I-can-make-something tin cans. Sure enough one fit, and a near by saved jam jar's lid fit as well. Perfect.
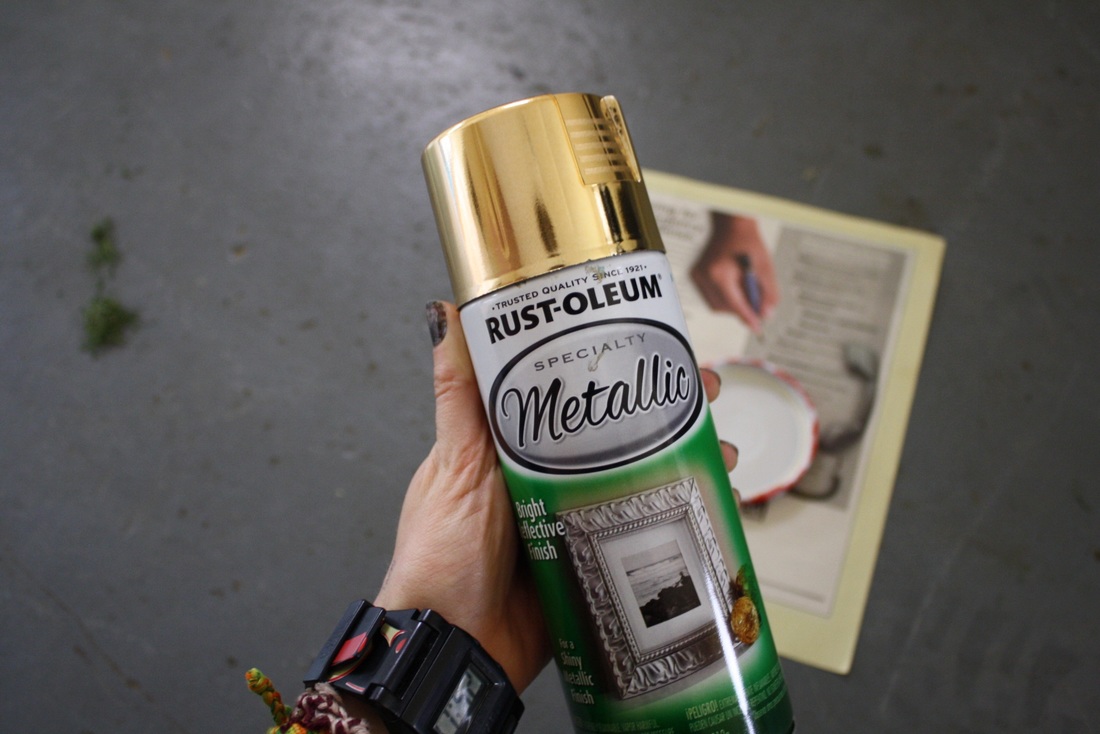
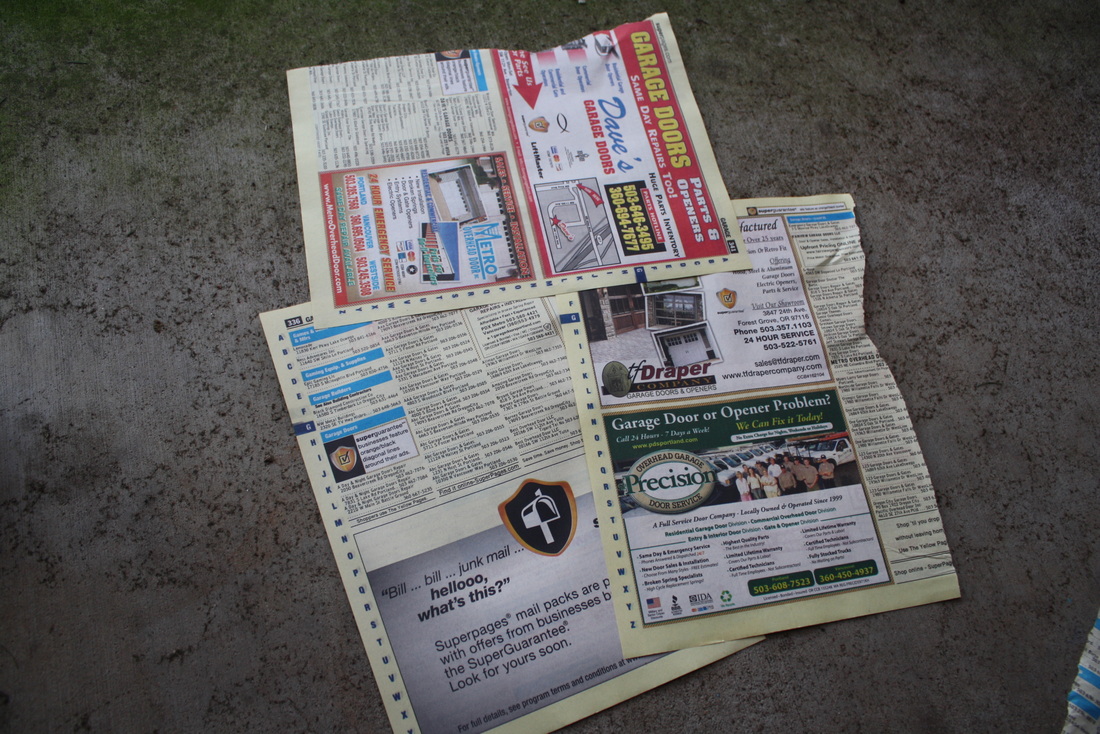
For the lid I decided to simply spray paint it gold. I headed to the garage, ripped out another phone book page, and sprayed one side. (I came back in between working on the can to spray the other.)
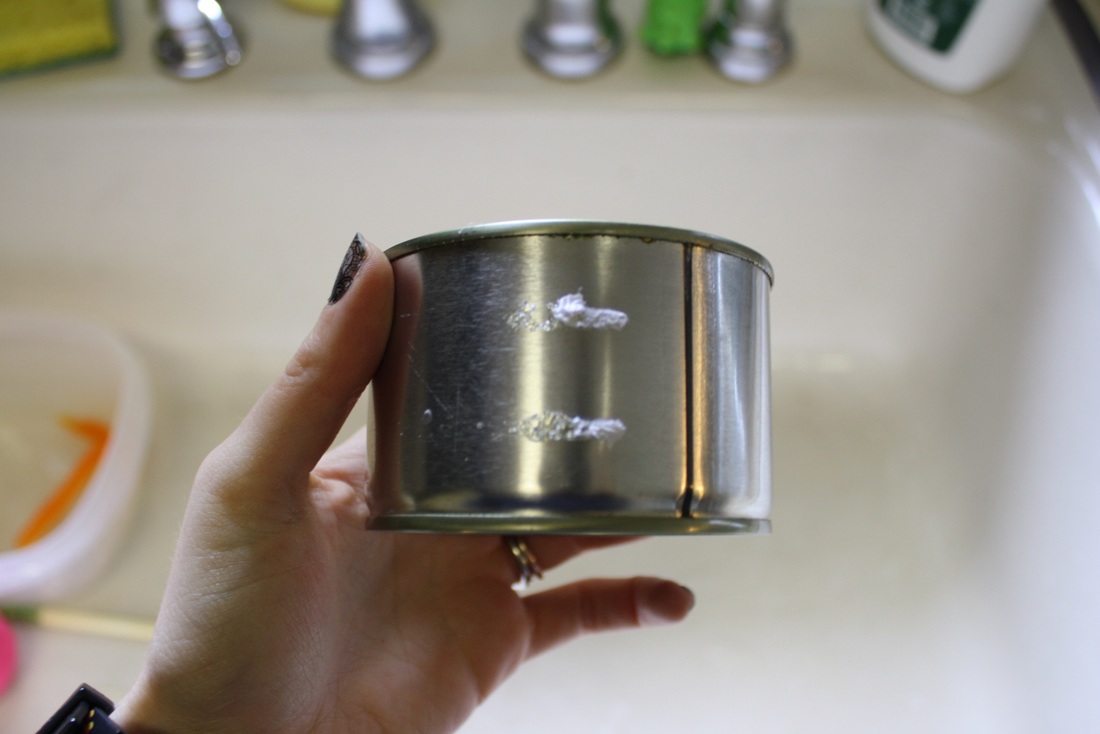
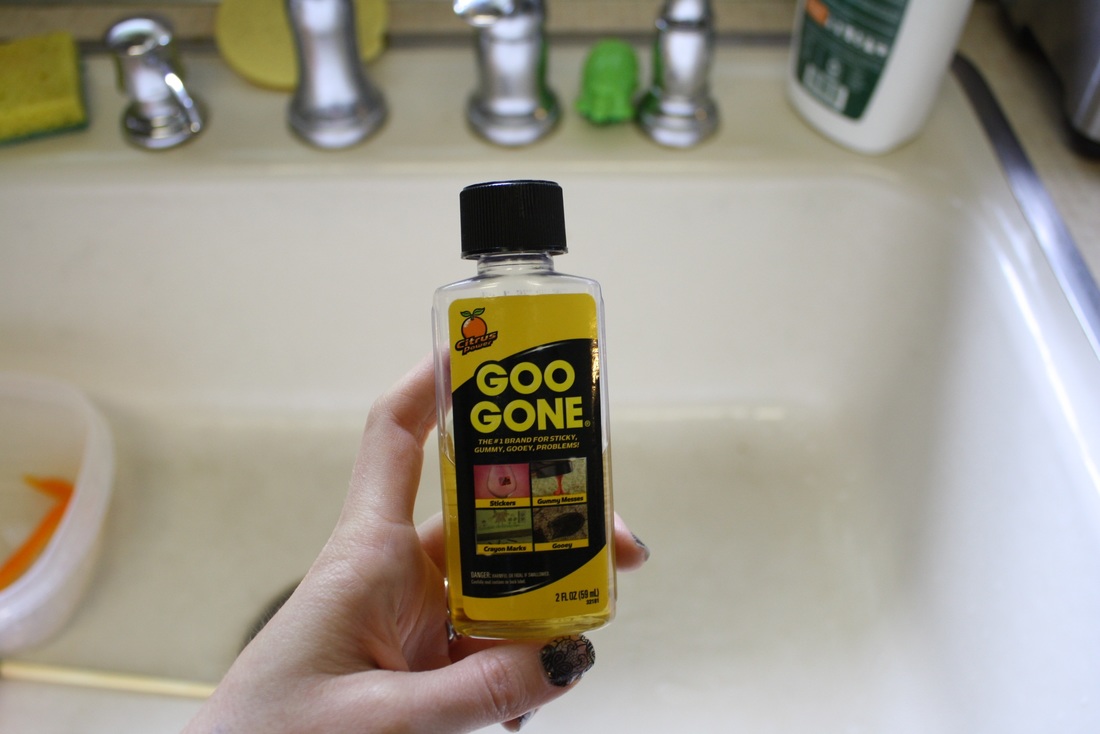
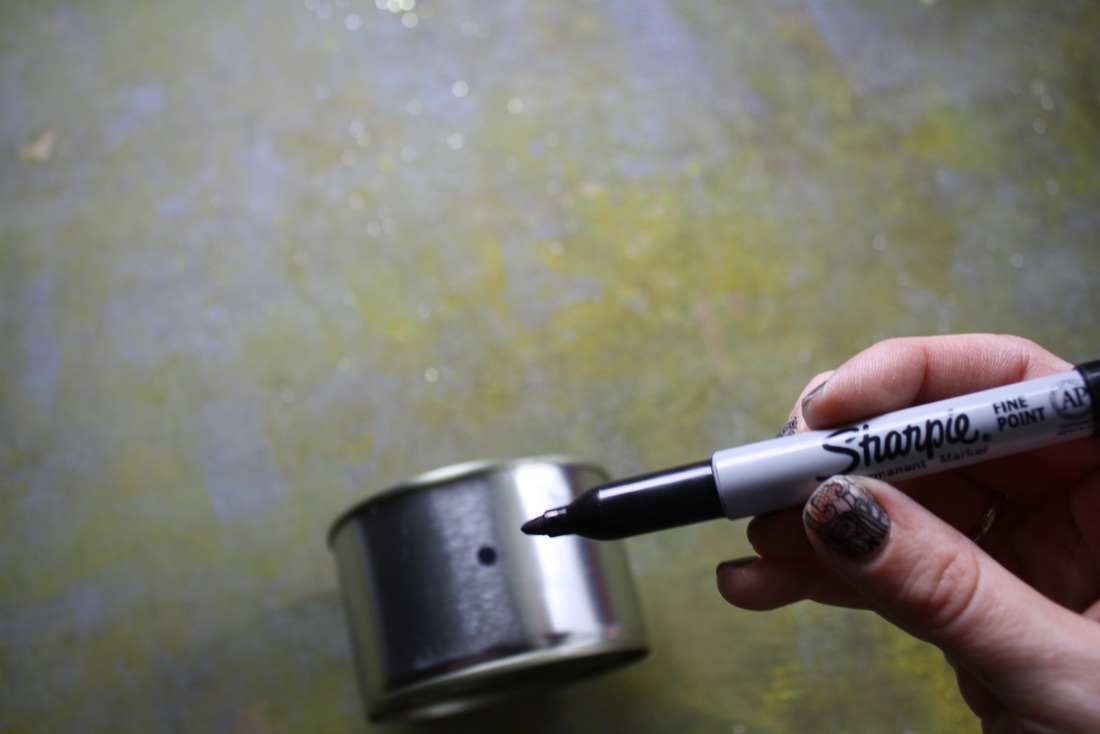
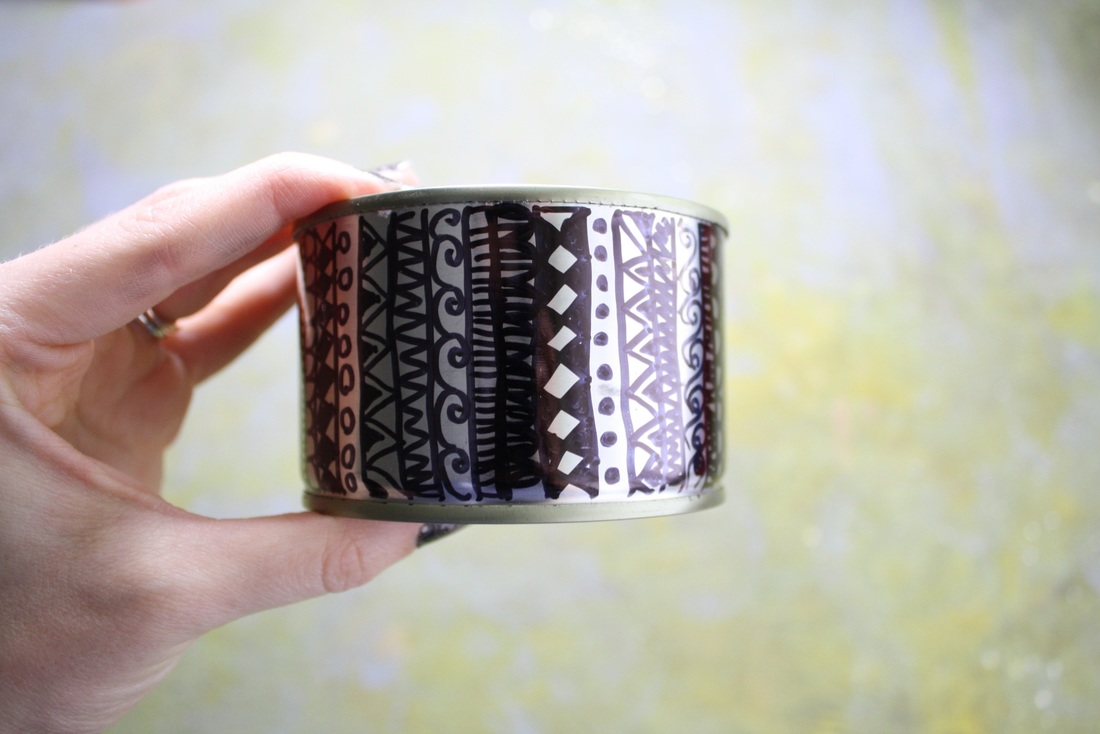
The water chestnut can needed a little more work. First I used Goo Gone to remove the label residue, and then I gently hammered a pokey bit of metal. I tried to hammer holes in a pattern using a nail, but I only managed to get 2 holes in before realizing the metal was too soft. It was deforming instead of becoming beautiful. So I quickly moved on to plan B, tribal sharpie designs. I repeated the same columns of shapes in a pattern, but colored in different areas of the shapes for variety.  It only took me thirty minutes to sharpie the can, which was the most time consuming part of the project (besides hunting for recyclables).
What have you DIY-ed lately? Anything I can use glass bottles or jars for?
0 Comments
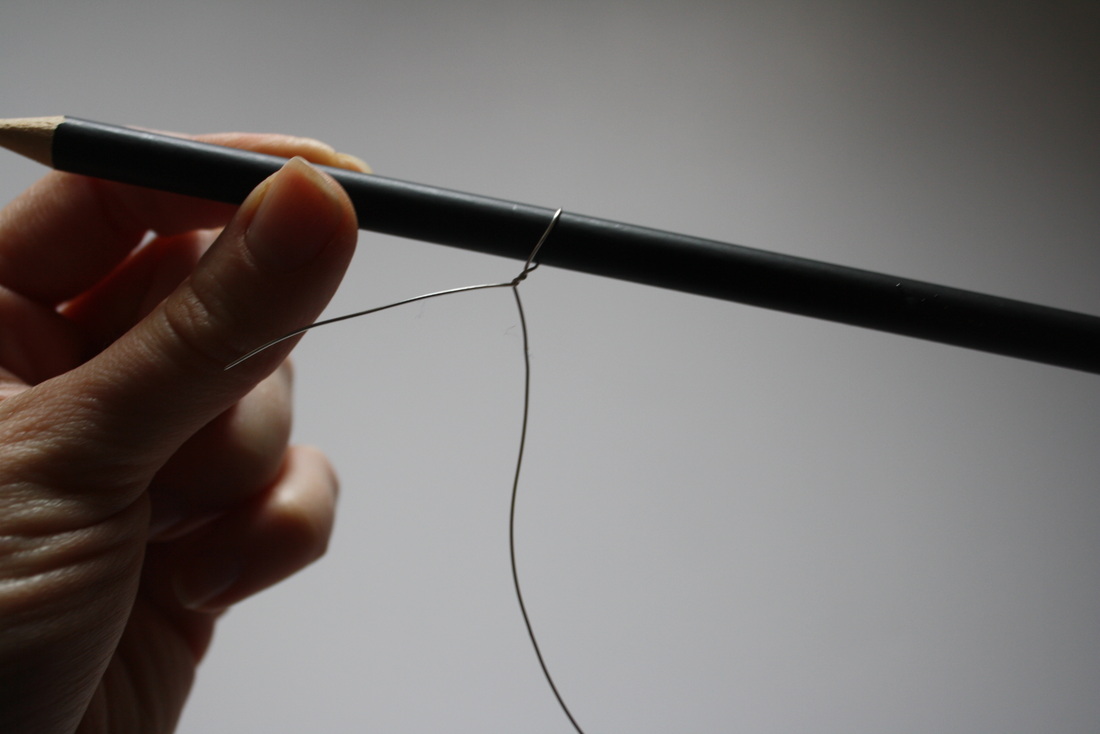
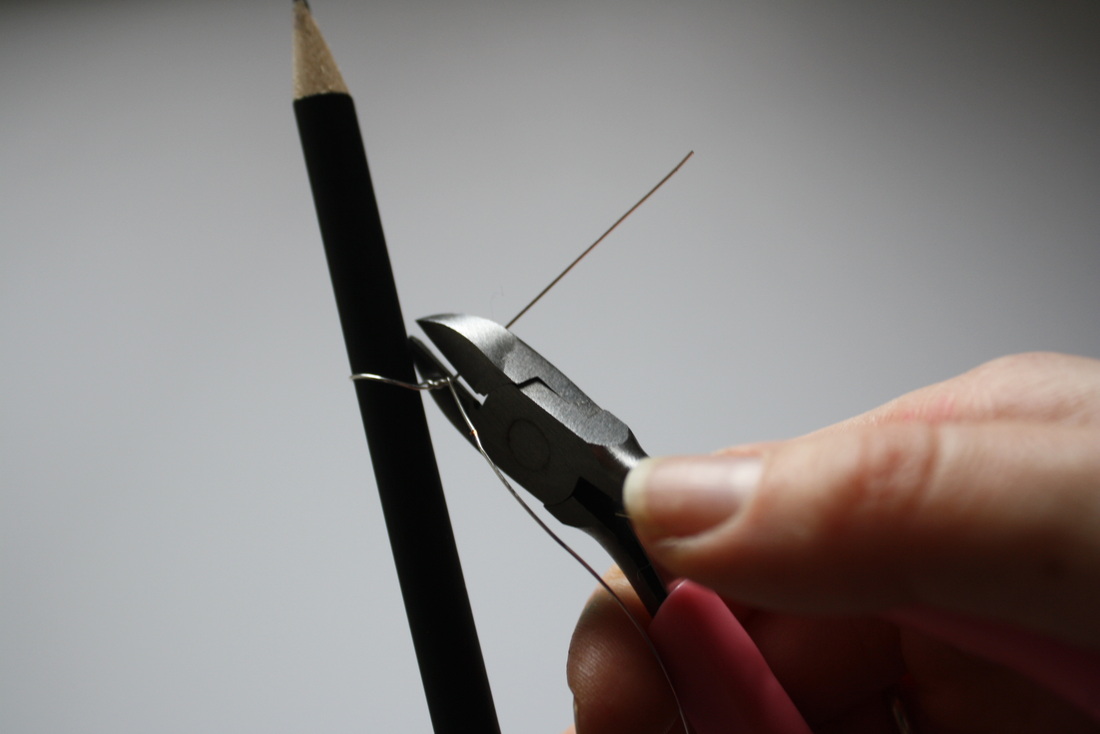
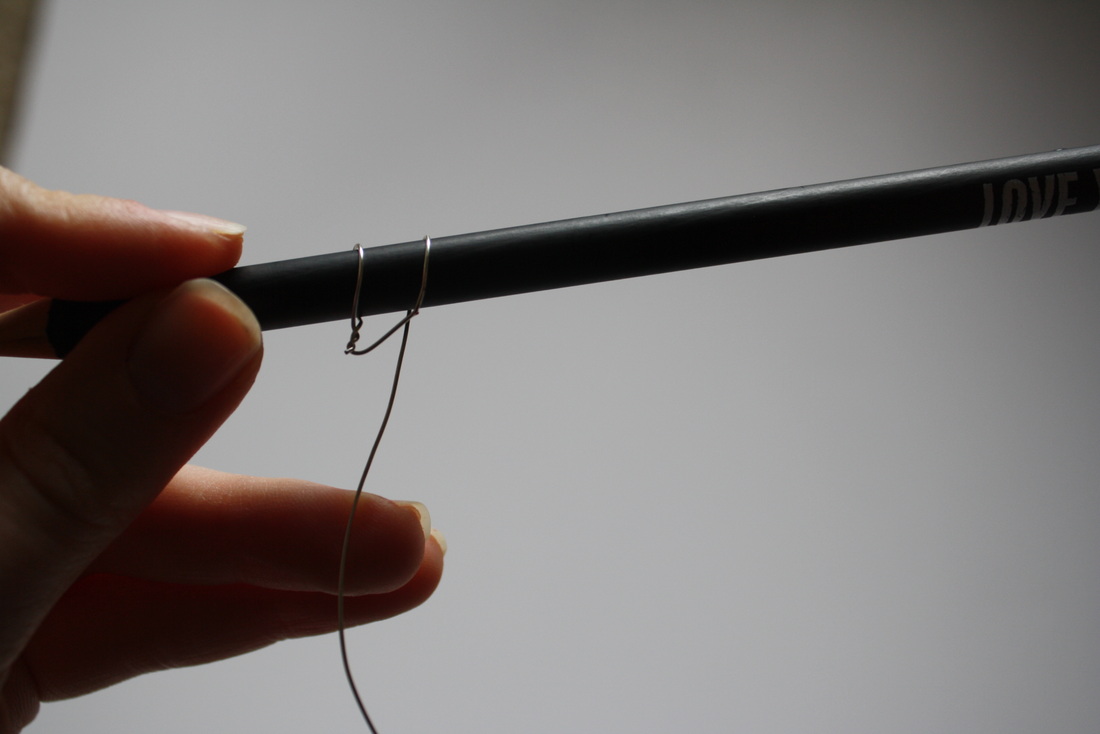
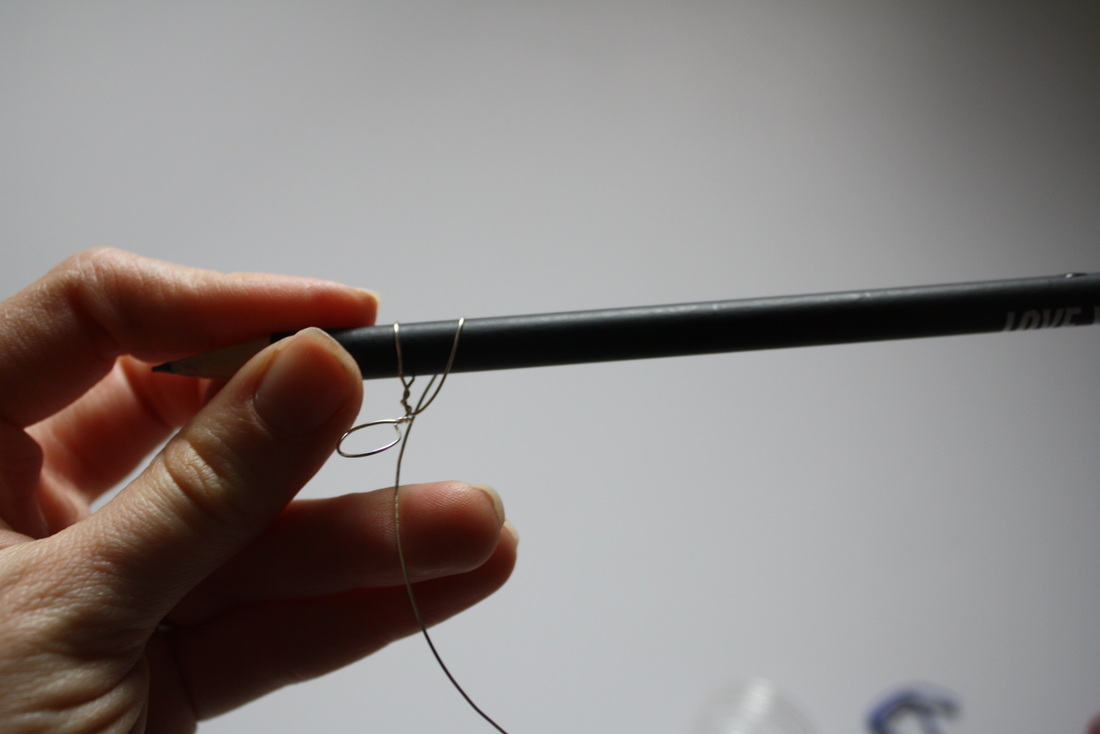
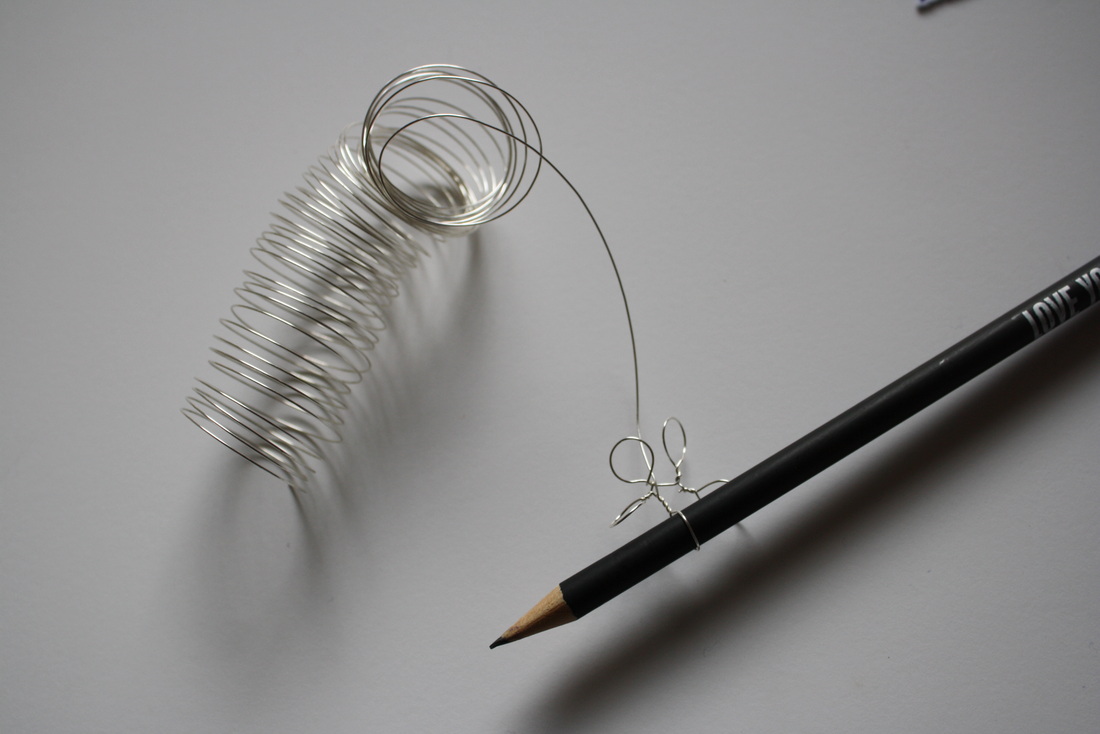
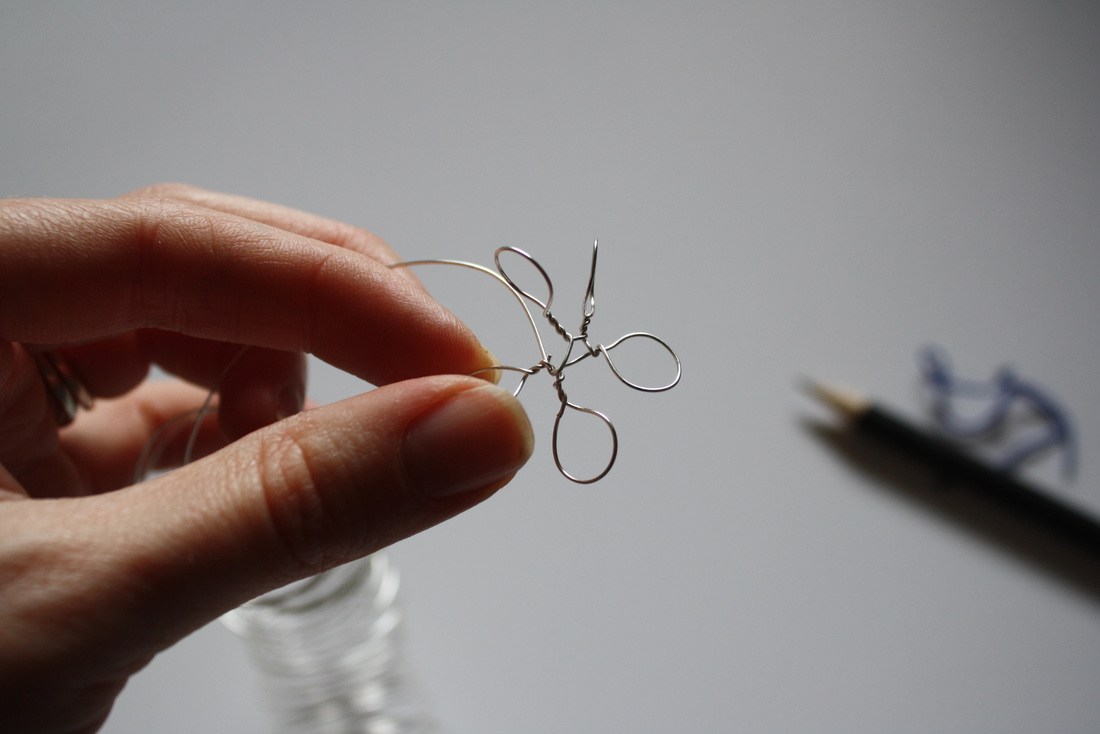
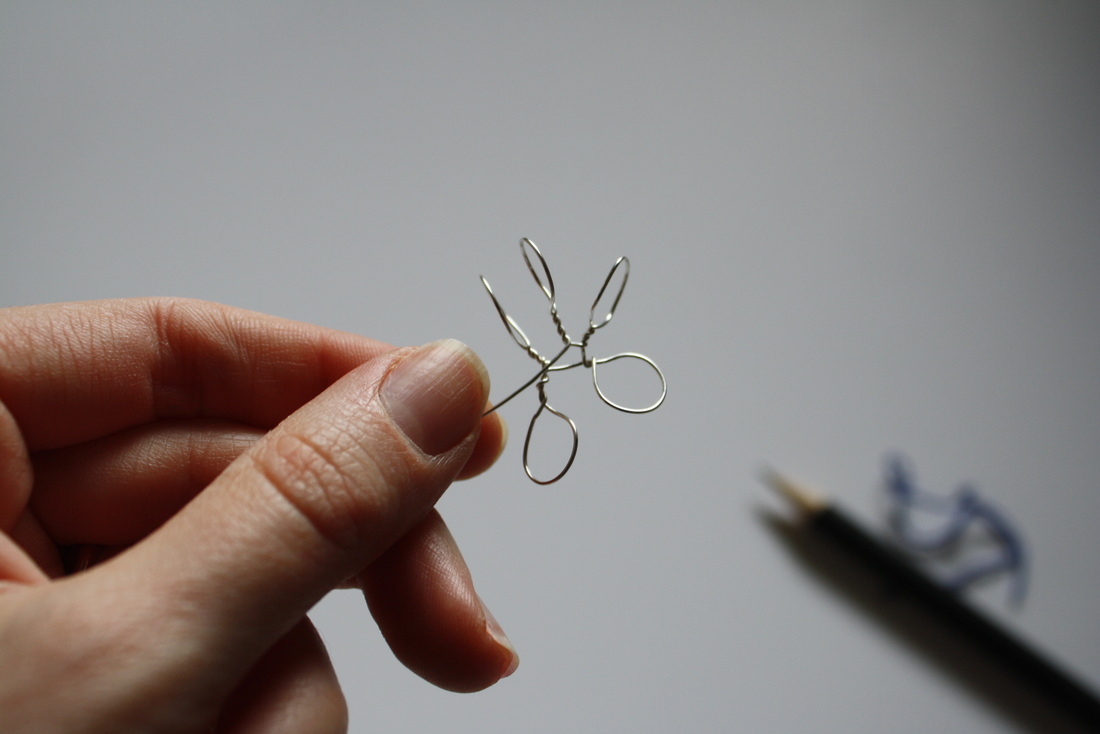
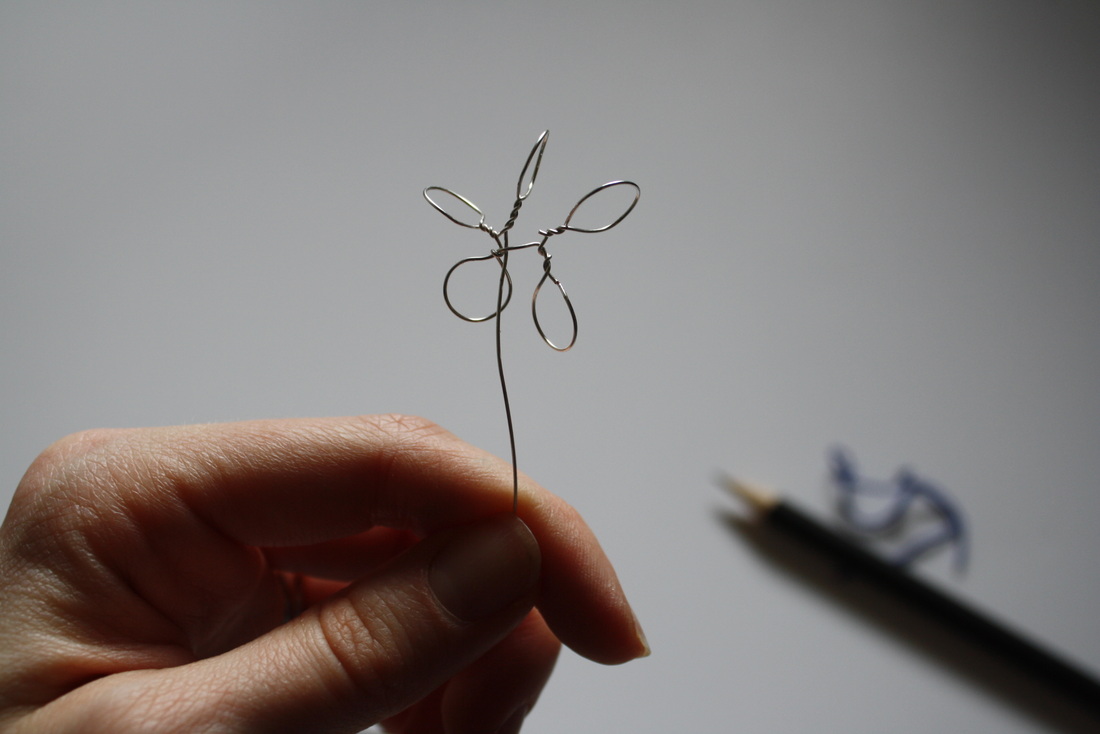
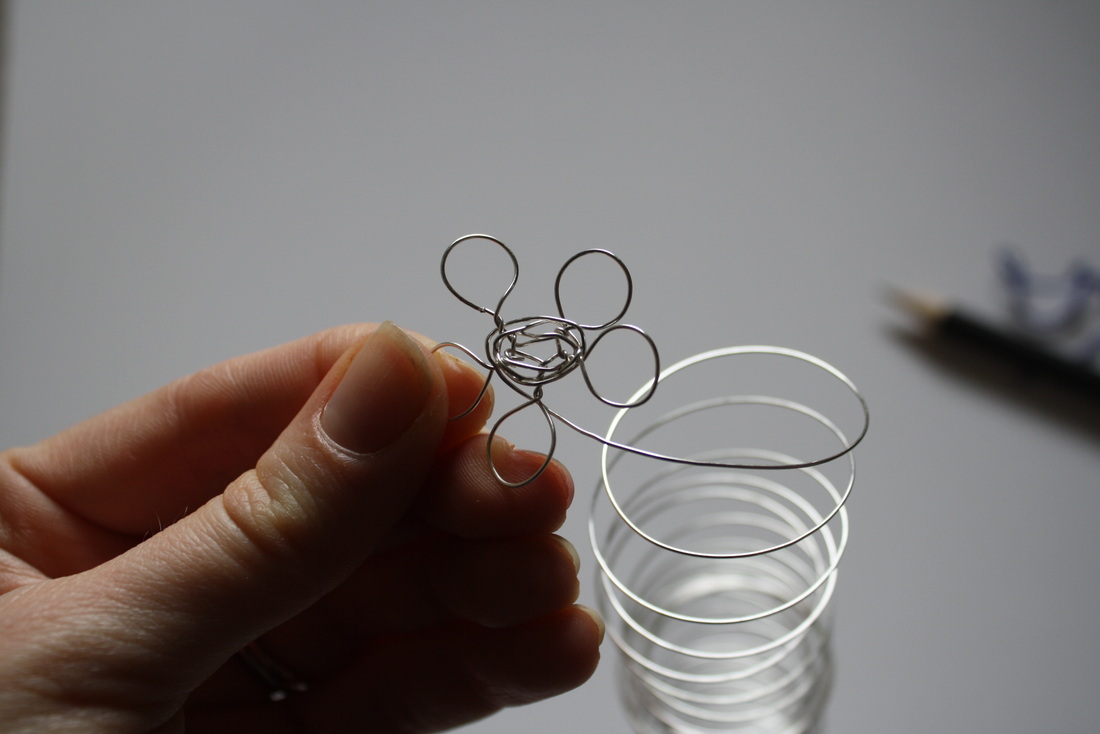
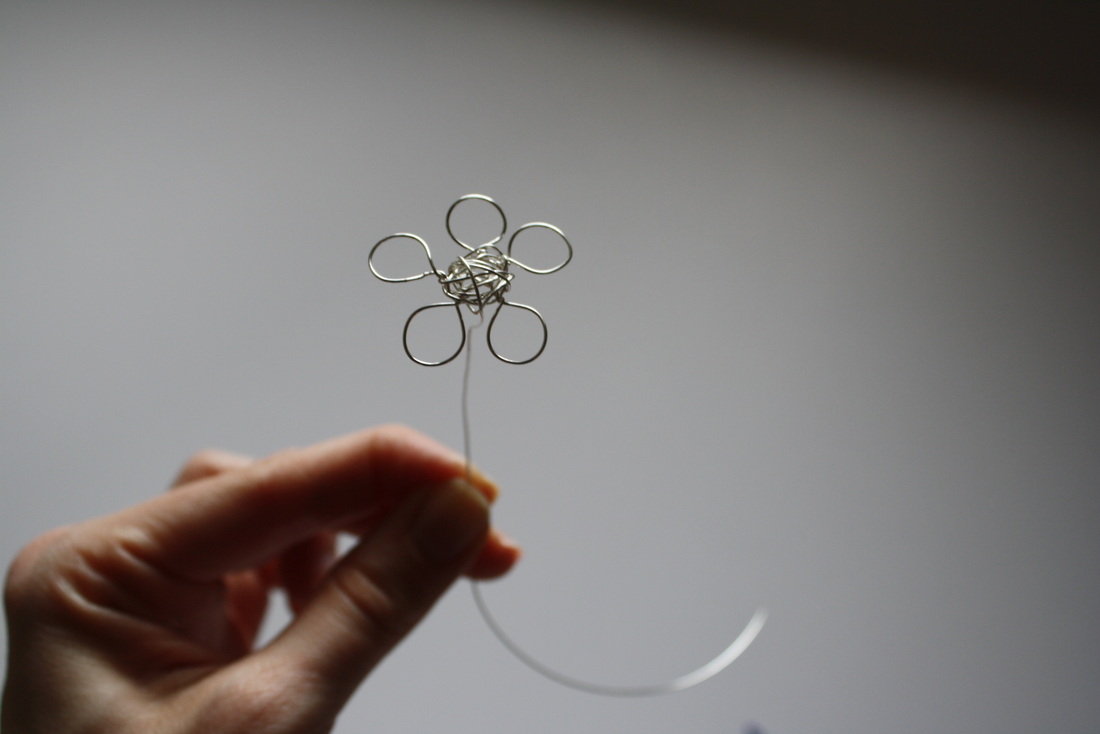
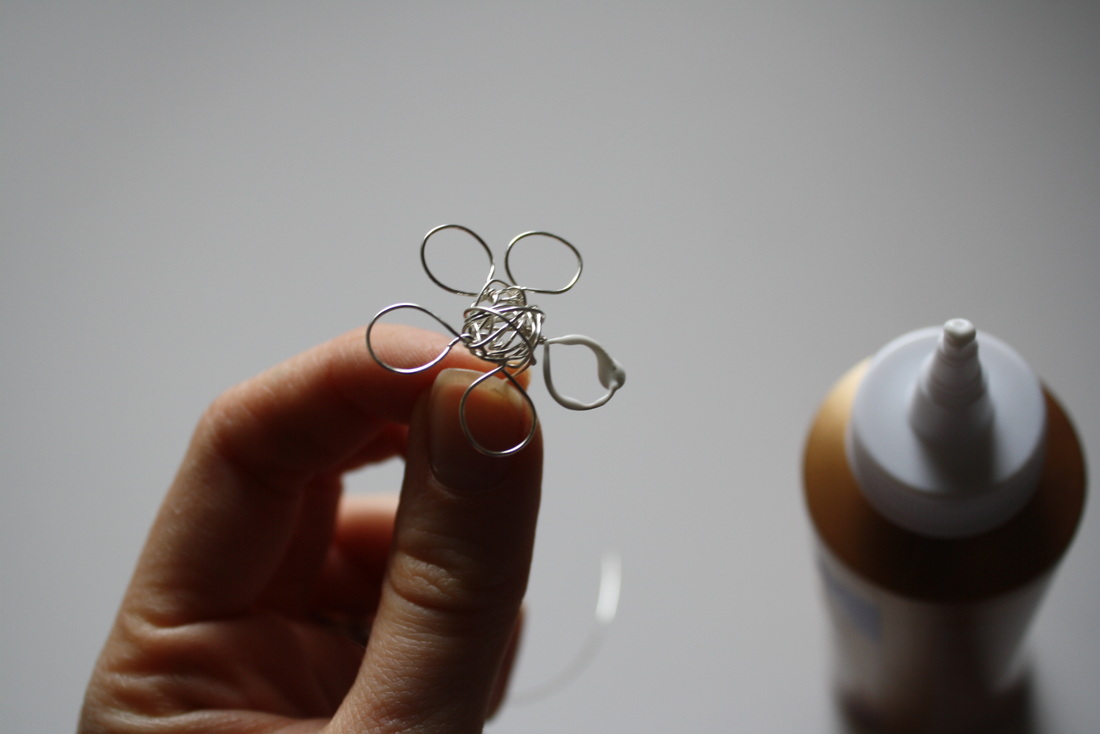
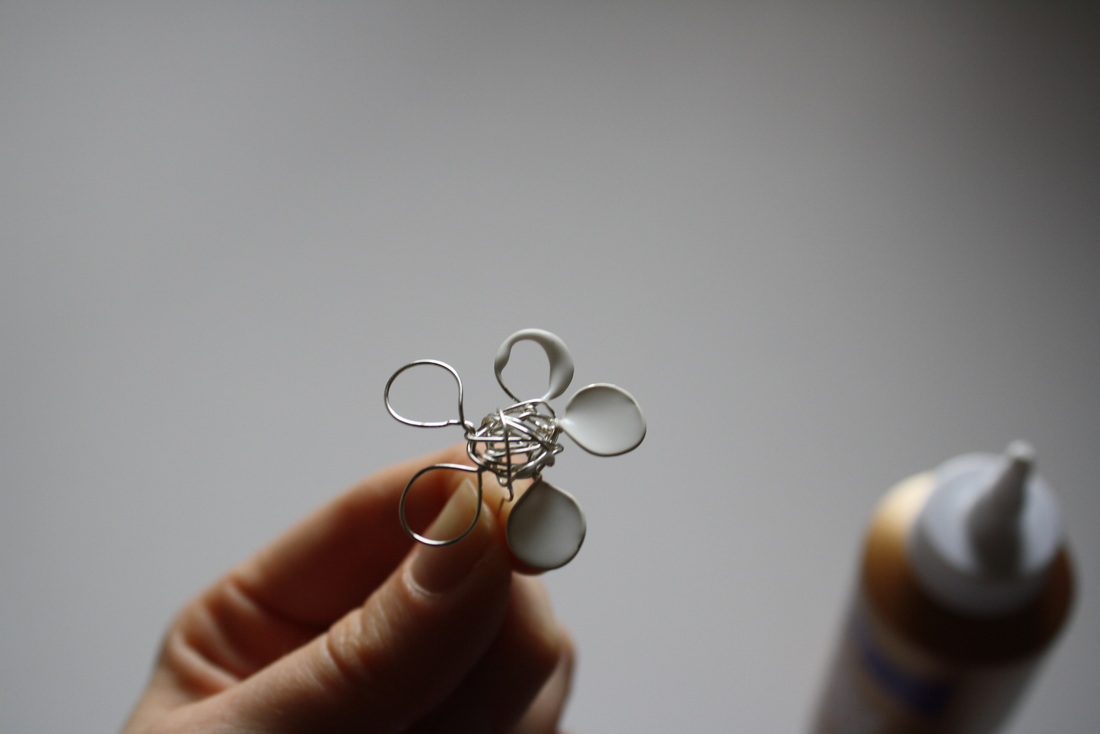
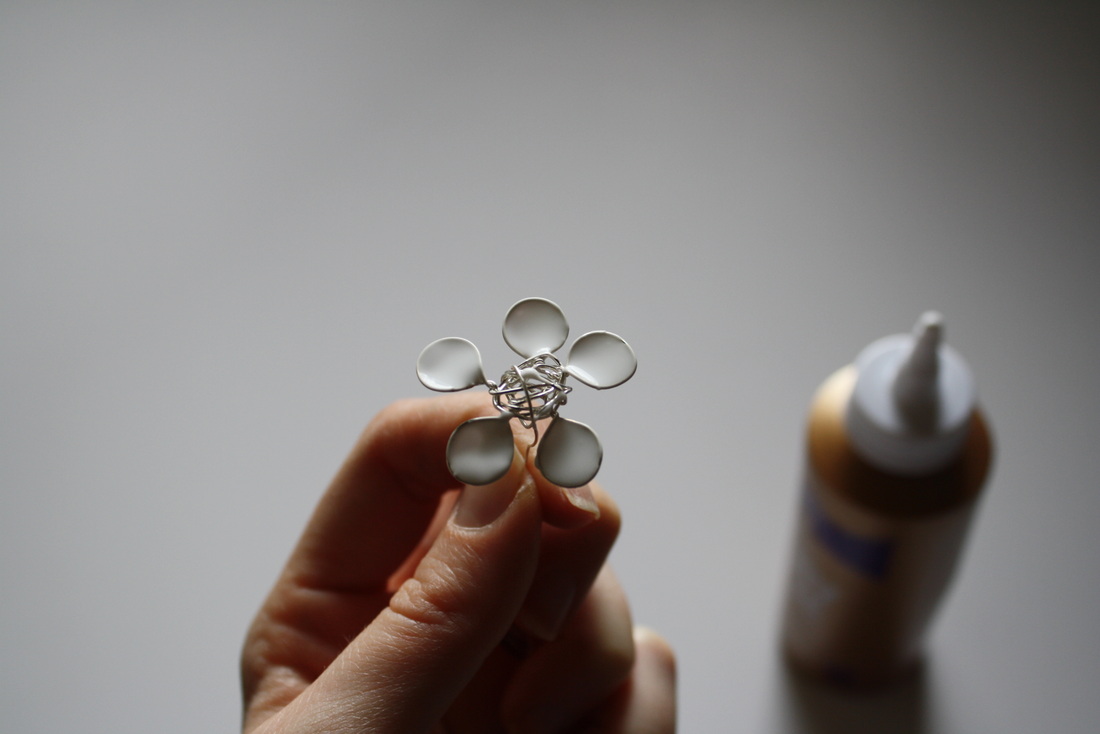
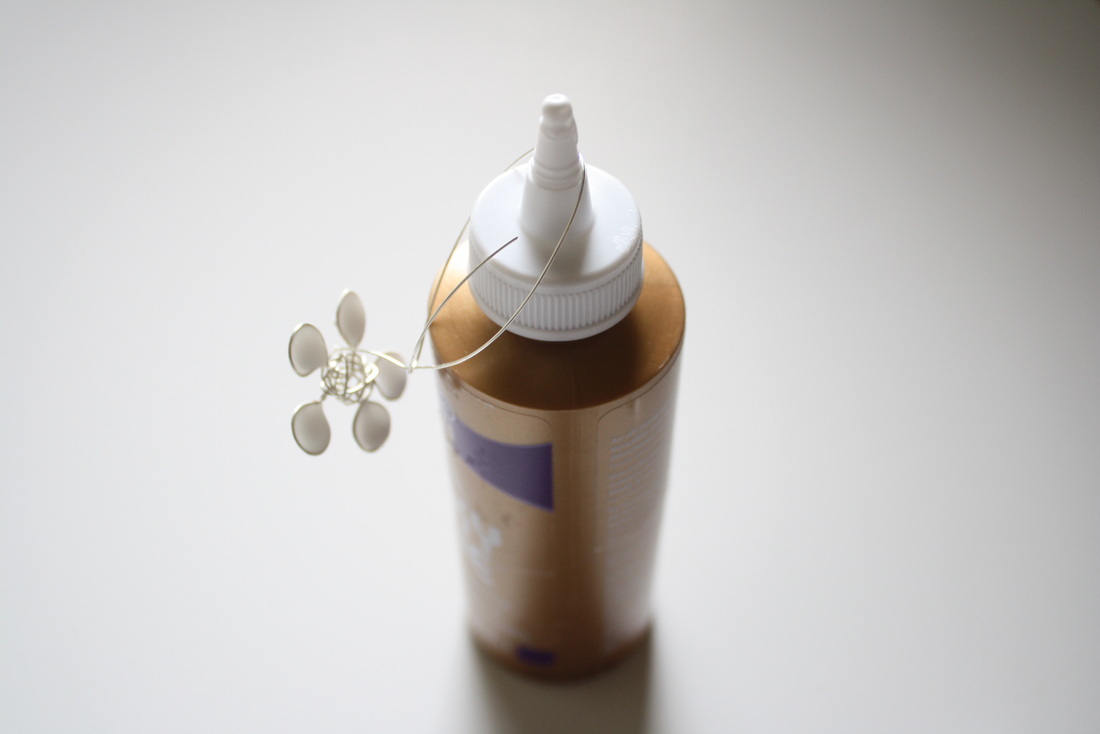
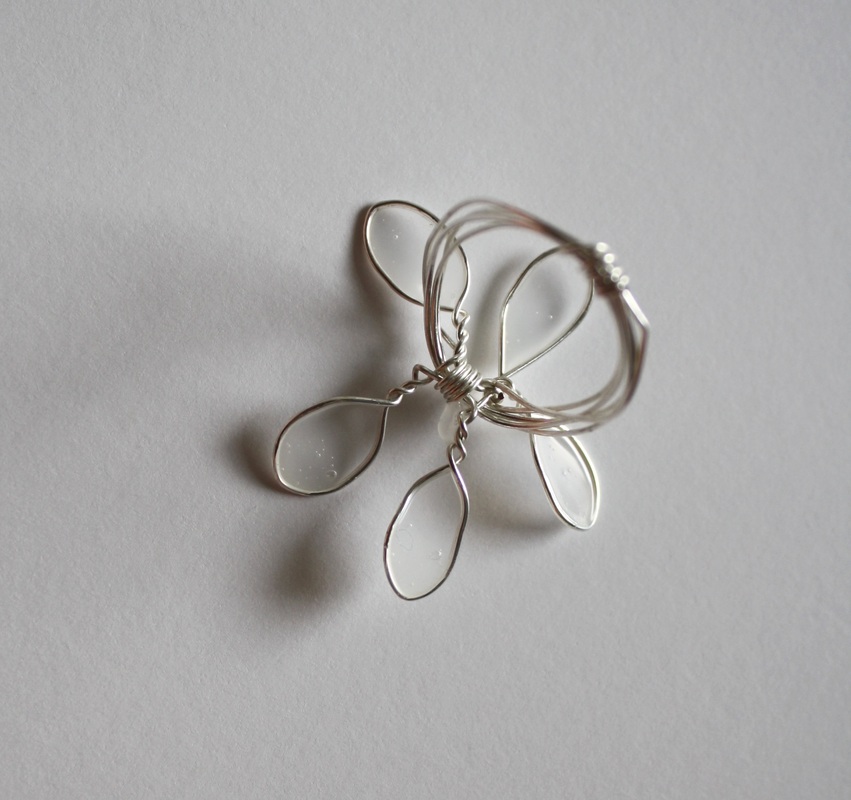
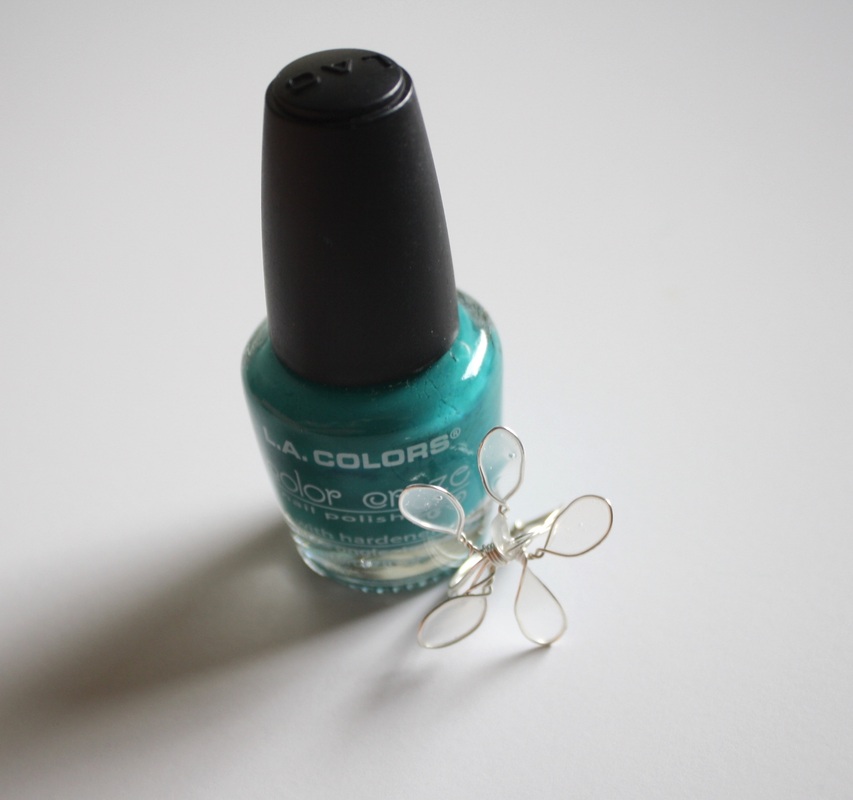
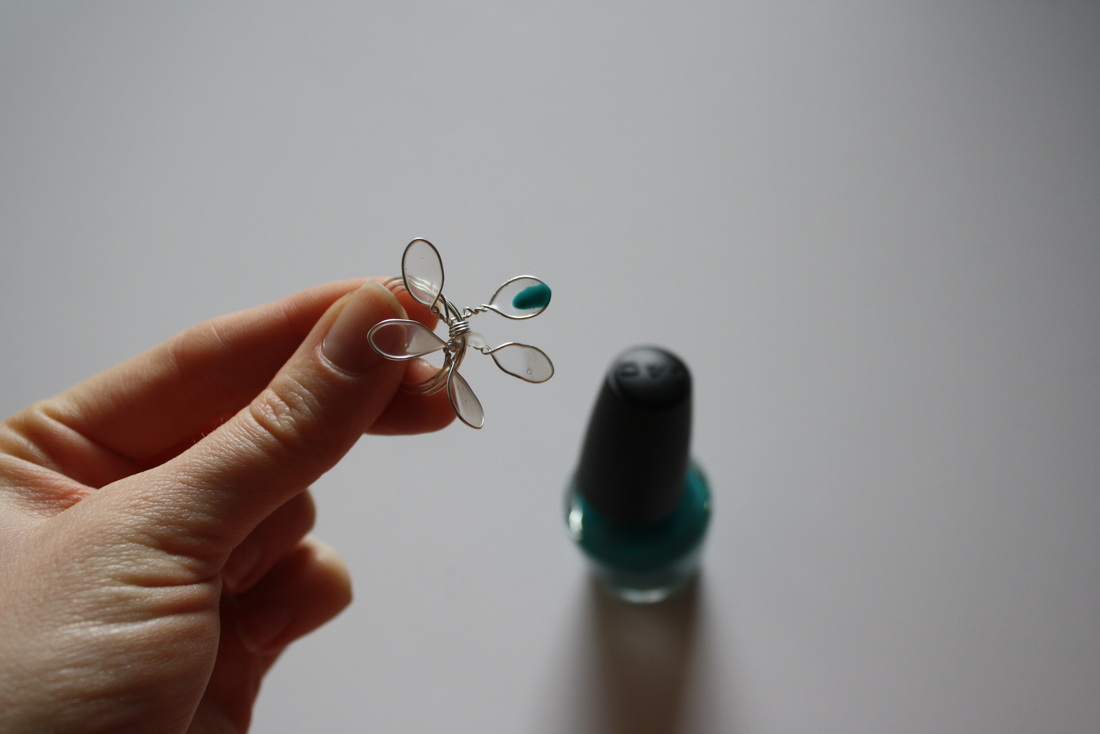
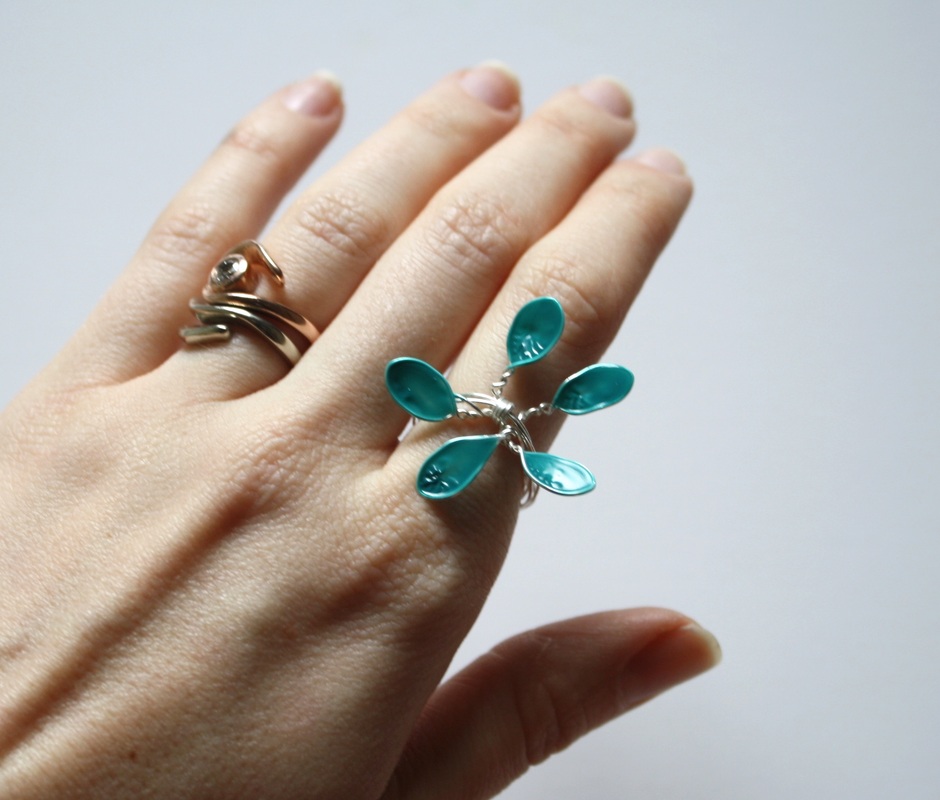 I spent too long on pinterest the other day. Sometimes that saps all my creativity and leaves me sad I spent hours looking at projects, instead of doing them. So I decided I HAD to do one of the projects. I chose this fairly simple one, and I had almost everything at hand. All you need is: Thin wire Wire clippers (or scissors, the wire is thin enough) A pencil Tacky glue Nail Polish Patience (not very much) Tip: place a paper or something under your flower as it dries, the glue drips. When I made the rings, I wasn't taking pictures. So I made the above to show you. I did not do the center pictured when I made the rings, but I like it better. To make the rings, all I did was loop the wire around my finger 3 or 4 times, and the wrap the wire around the flower and ring loops (center of flower), and wrap again at the base of the ring (under where you finger will go) to keep all the wire loops together. I also slightly squished the petals of the rings, using my fingers. 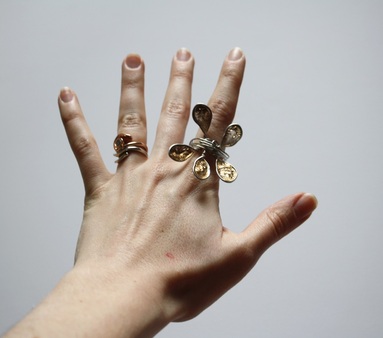 I also made this larger ring, with thicker wire. However I don't recommend it. It was harder to form, and much harder to get the glue to stretch across. I thought it would make a more durable ring, but the cons aren't worth it to me. If you care about durability, thicker wire is do-able, but more challenging.
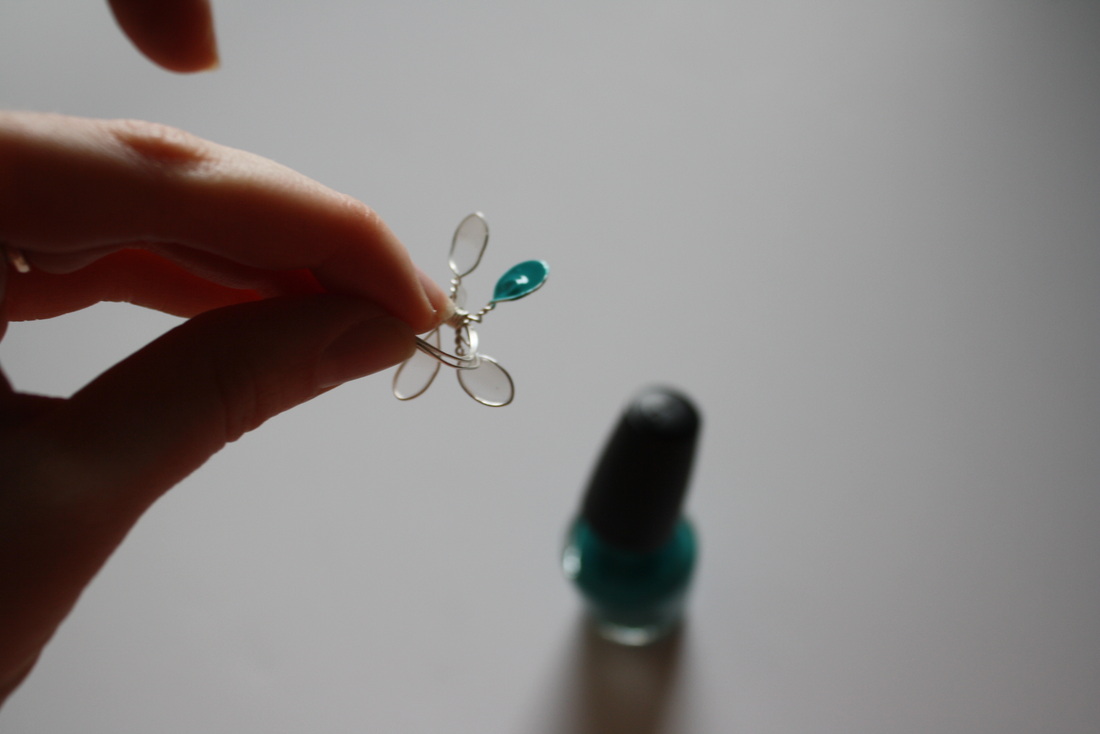
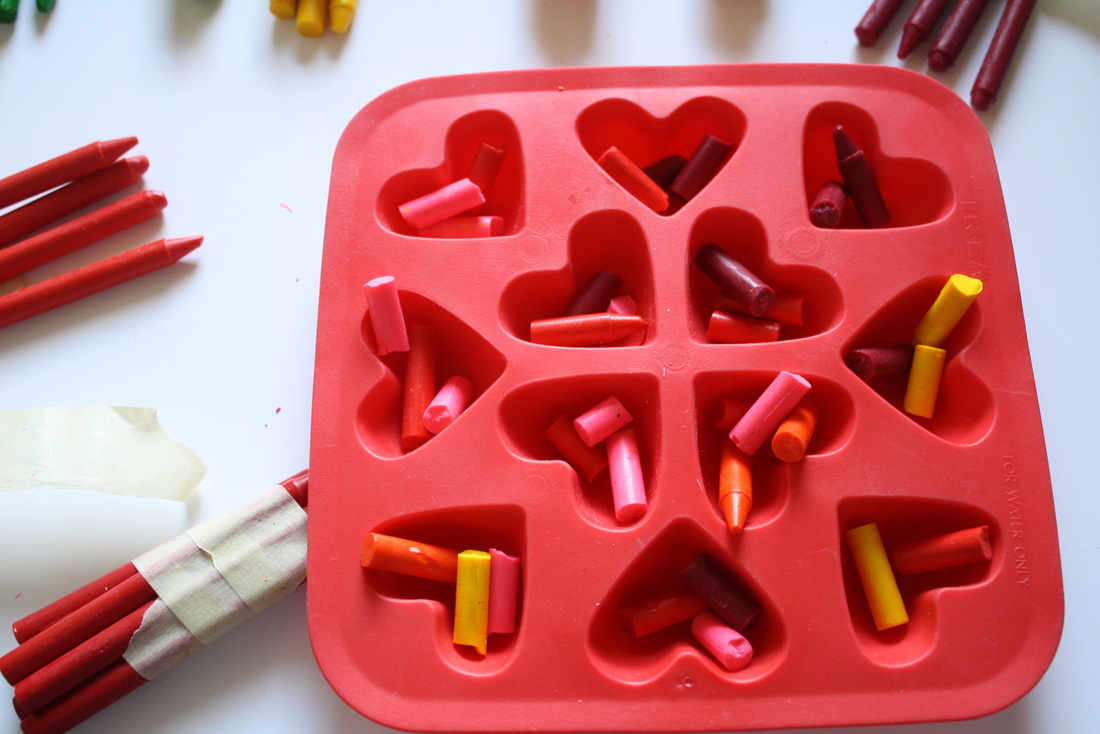
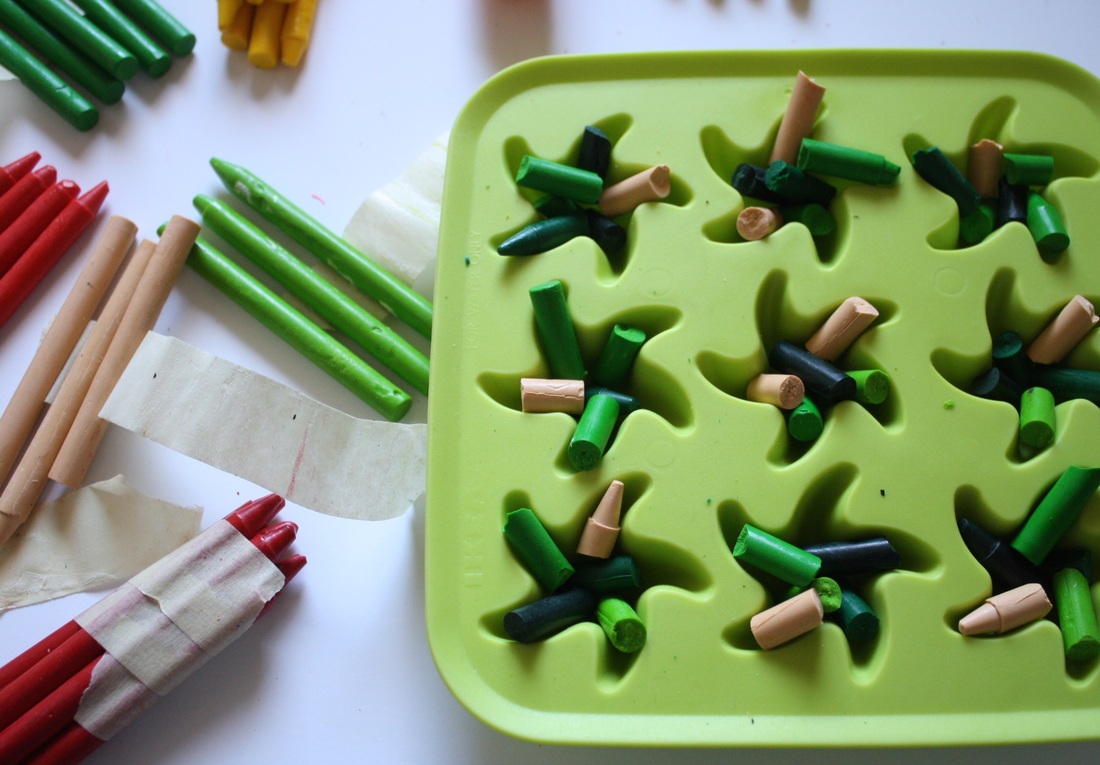
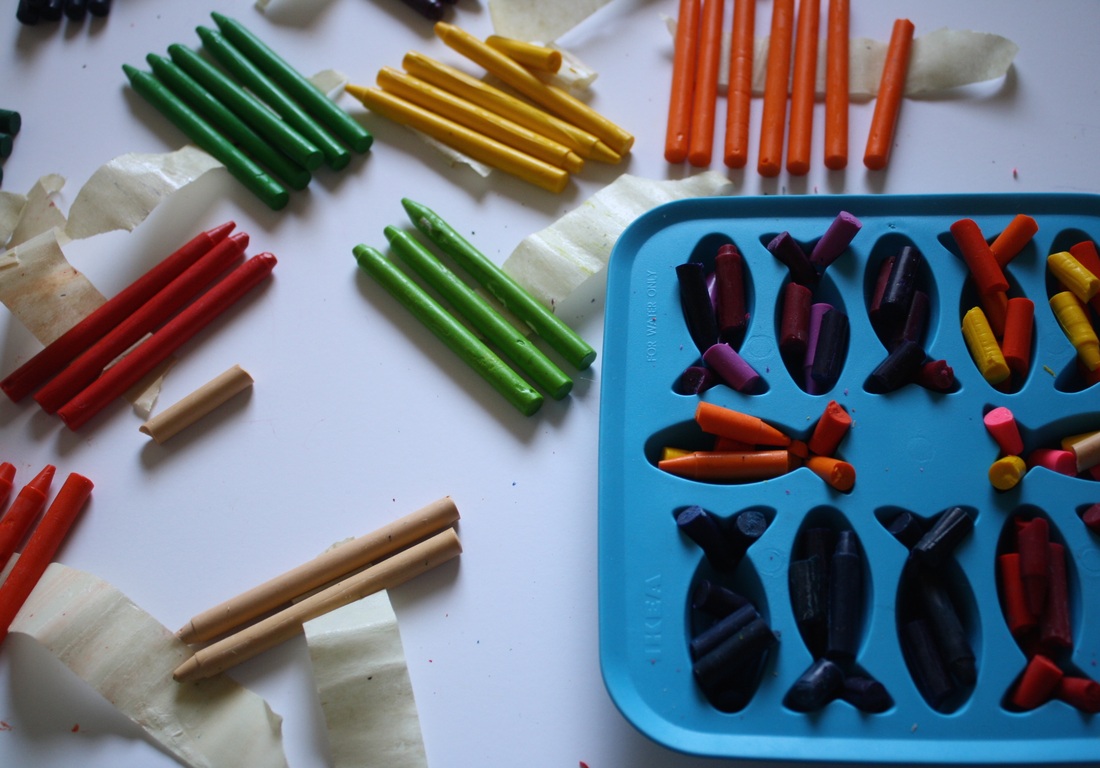
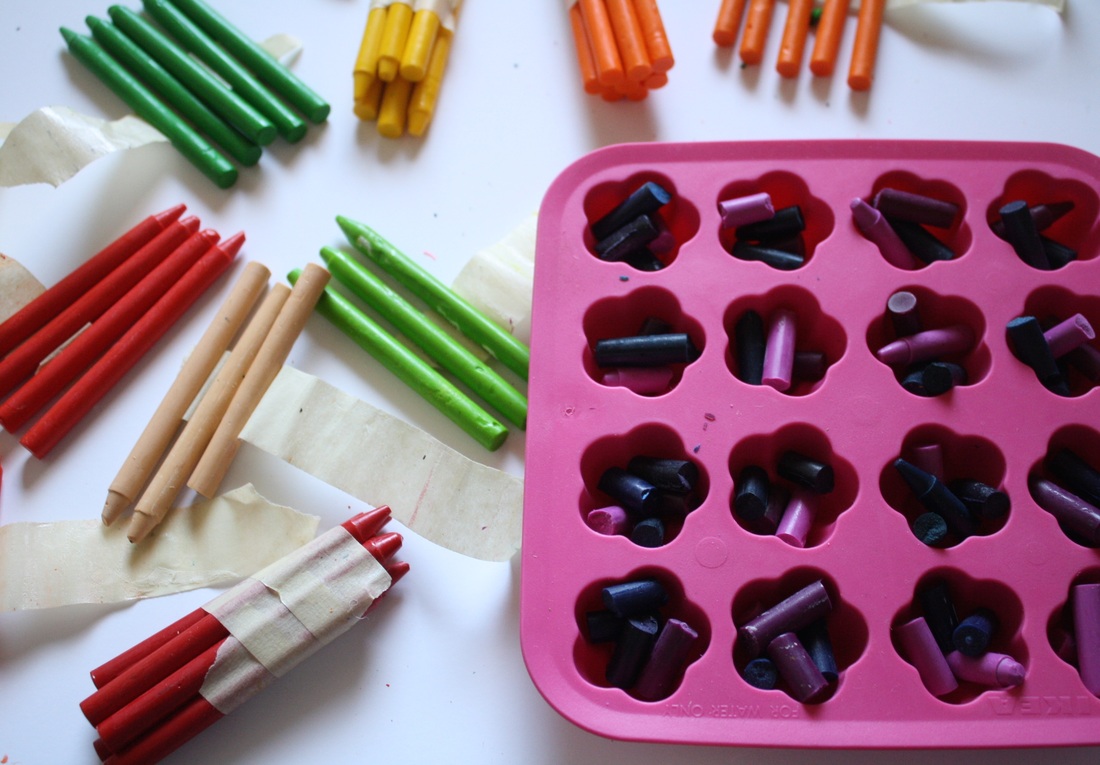
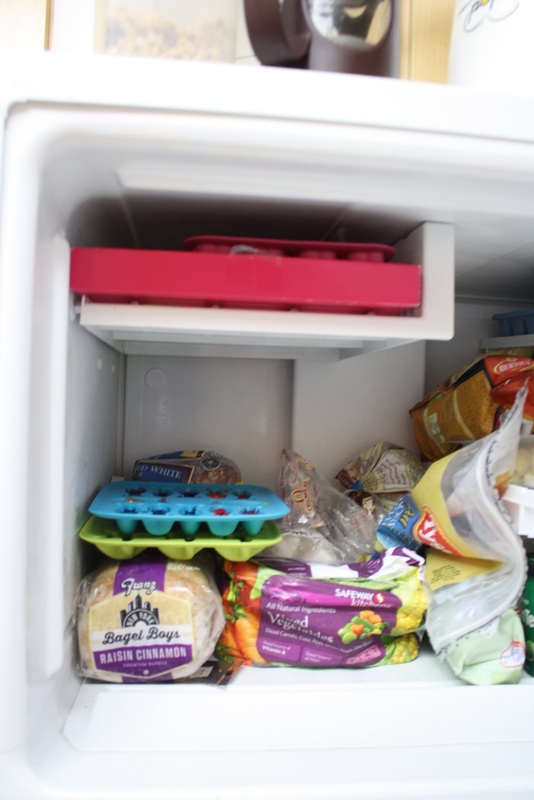
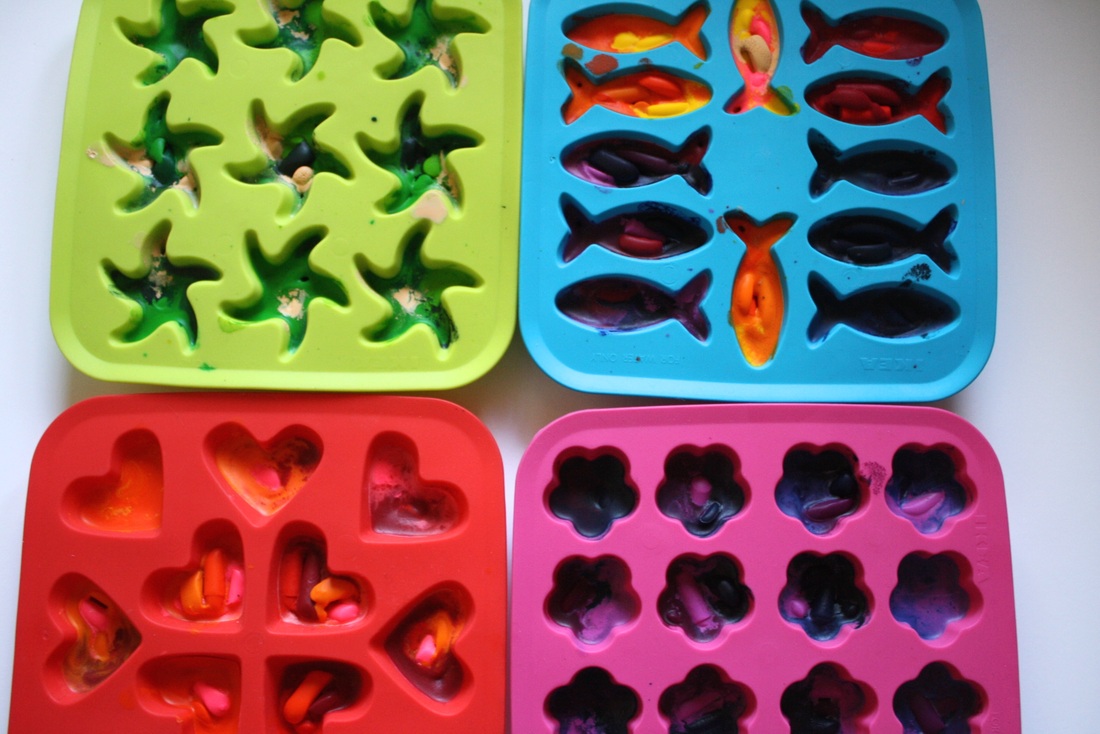
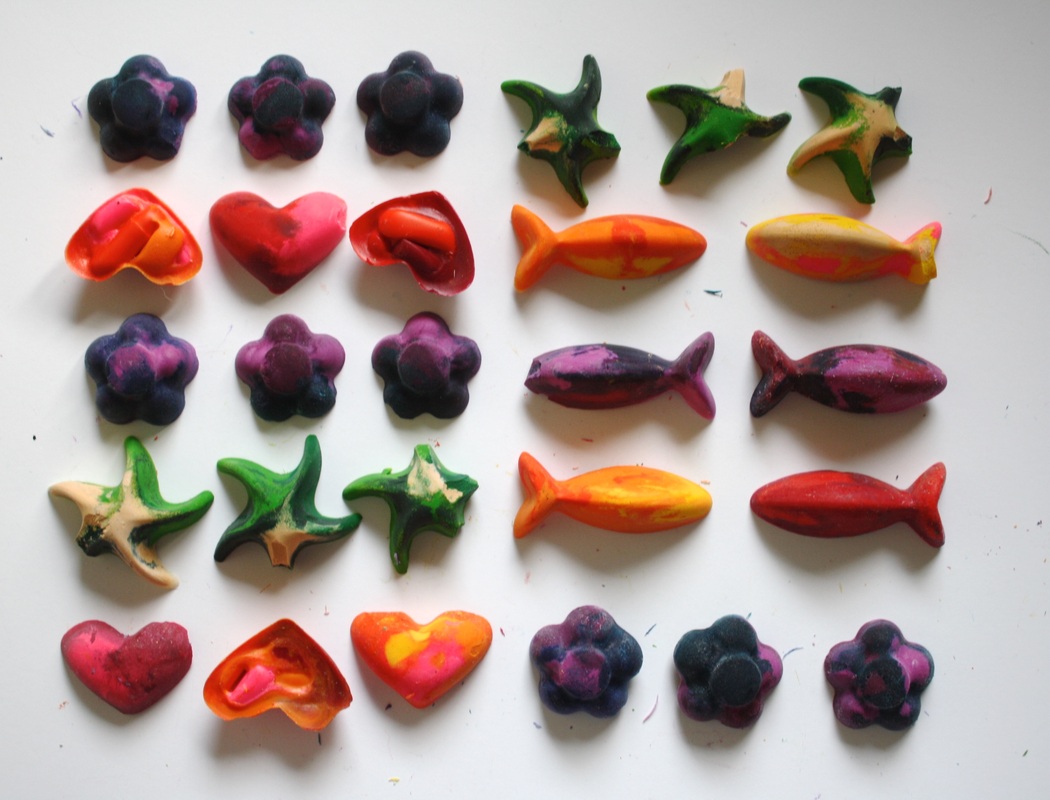
So there you go, fairy rings, or just adorable flowers. 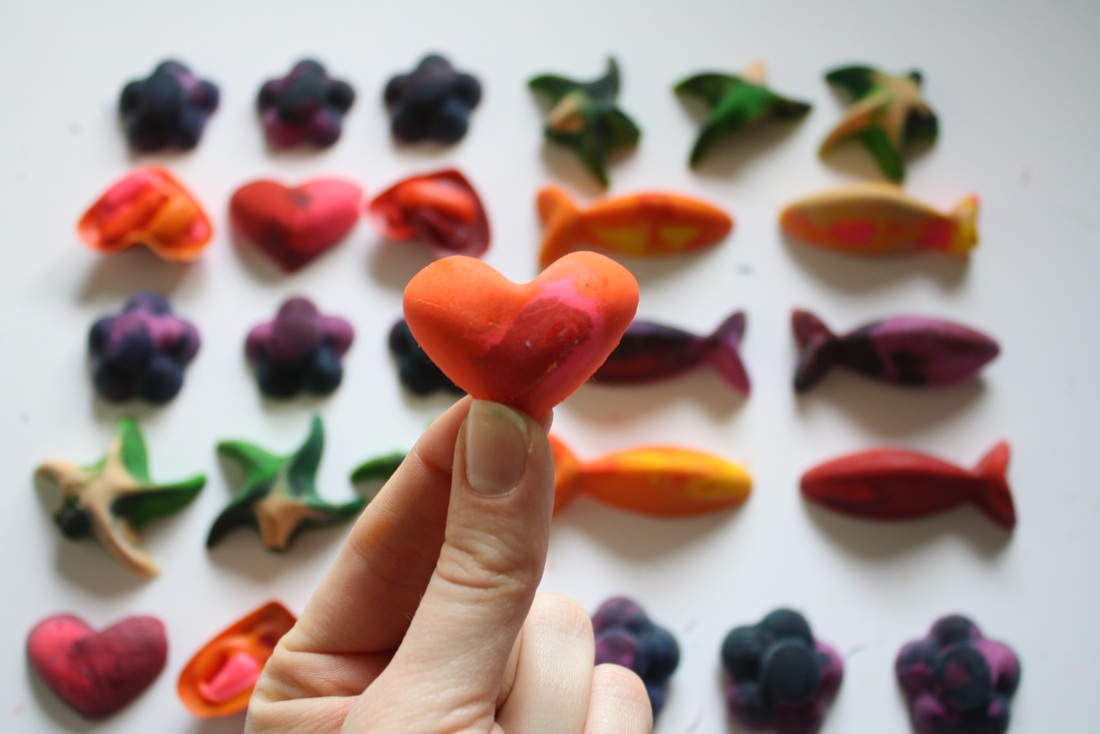 At Goodwill this week I found a pack of four Ikea ice cube trays for two dollars, and I thought immediately of the crayons left over from our wedding that I still hadn't used up (last year I tried melting them double boiler style, but that did not turn out pretty, check my Tumblr and scroll down to see that mini-tutorial). 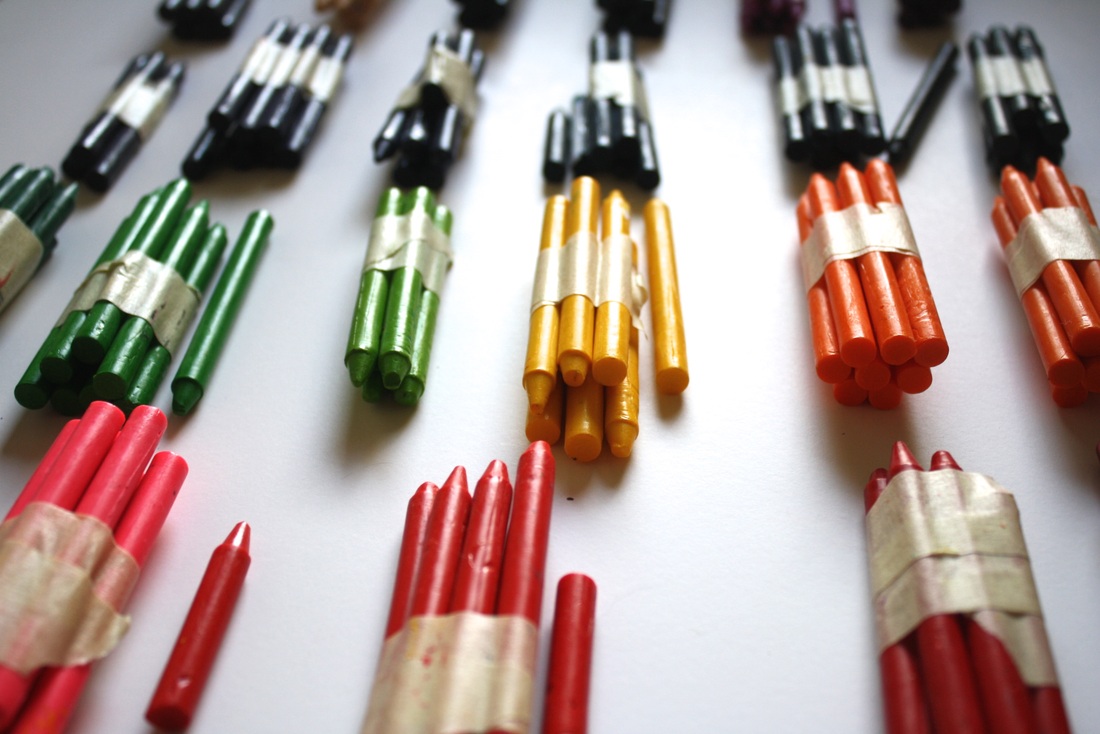 So I read up on the task at hand, pulled out all my crayons. And broke them into the molds (ice cube trays). As I was prepping for this project, I read various accounts of the trays melting, and not melting. The deciding factor I settled on was oven temperature. At 250 the trays do not melt (mine did not even come close to melting), however at 350 they very well might (according to the internet rumors). Also, there is text on the trays that reads "for water only". A discussion I read here suggests perhaps the rubber is porous and Ikea is avoiding possible lawsuits. In any case I decided to take the "risks". 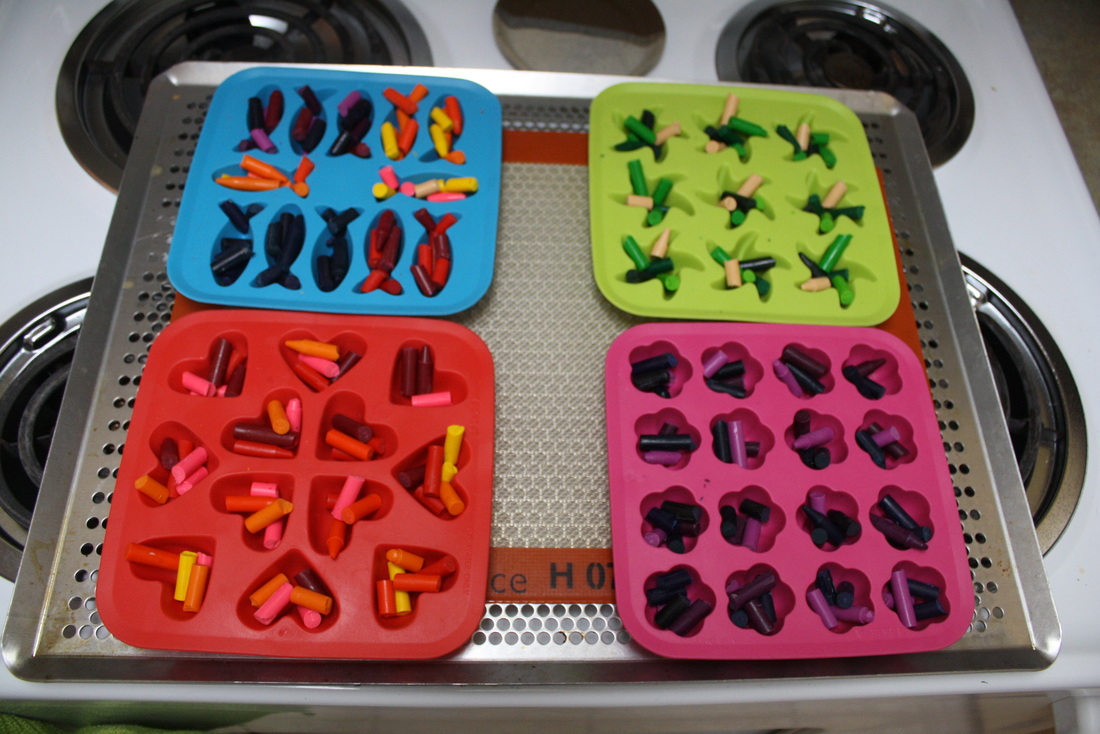 This is the only baking sheet I have that was big enough to hold all four at once. I only put my Silpat down to help if they melted. With my oven warmed to 250 (NOT 350). I put the crayons in. Scared by the melting trays rumor, I hovered near the oven.  I set a timer for 5 minutes, and checked every one to two minutes, looking for melting trays. My trays did not melt. They did not weaken, they did not lean. It took about 10 minutes for my crayons to melt (all ovens are different), however I was so nervous I pulled them out before every crayon was Completely melted, my crayons are still fine, but wait to pull yours out until all you see is a puddle of wax, no crayon shaped lumps. 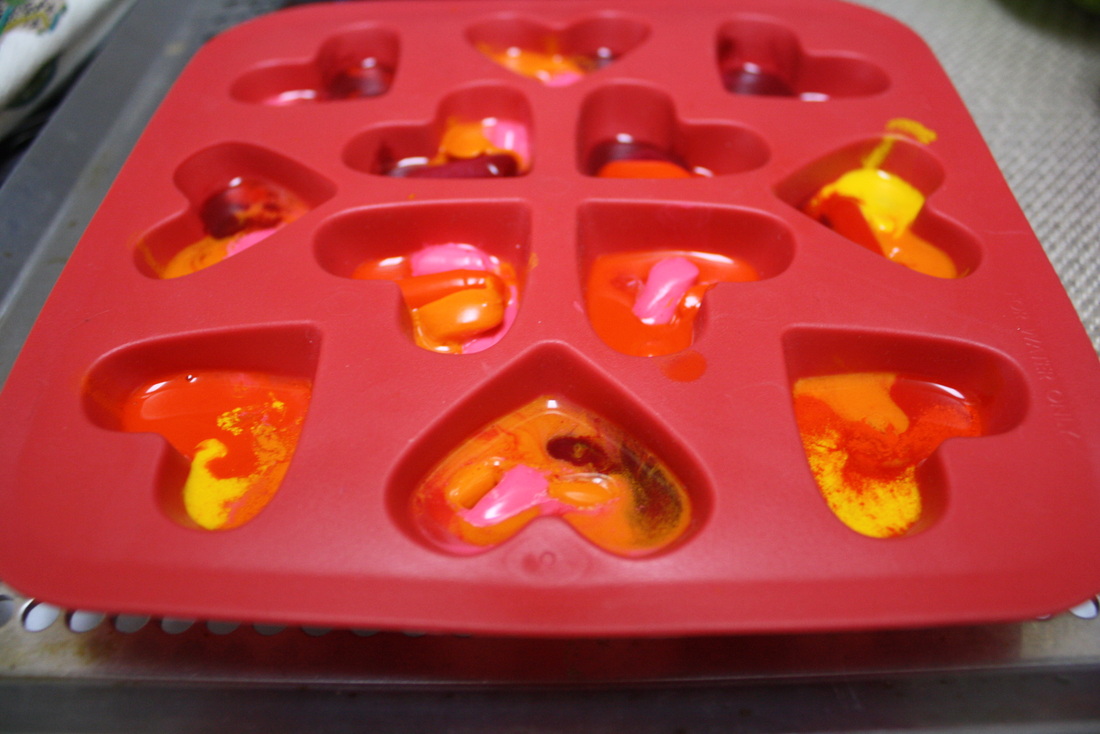 Liquid is good, lumps are there to stay. Once out I popped them into the freezer and continued with my day. I have a shoebox lid I use to support a more wobbly mold on its way into the ice cube area of my freezer, but that was overkill for these ice cube trays obviously made to support liquid. I did not fill my trays with enough crayon bits. If I make them again I will overfill slightly and break the crayons into smaller bits, so they don't come out as shallow as these ones. The hearts and flowers are the most structurally sound. I got about half of my fish out with tails, and none of the starbursts came out with all arms intact, although a couple were very close. They will still make nice presents for the kids I work with.
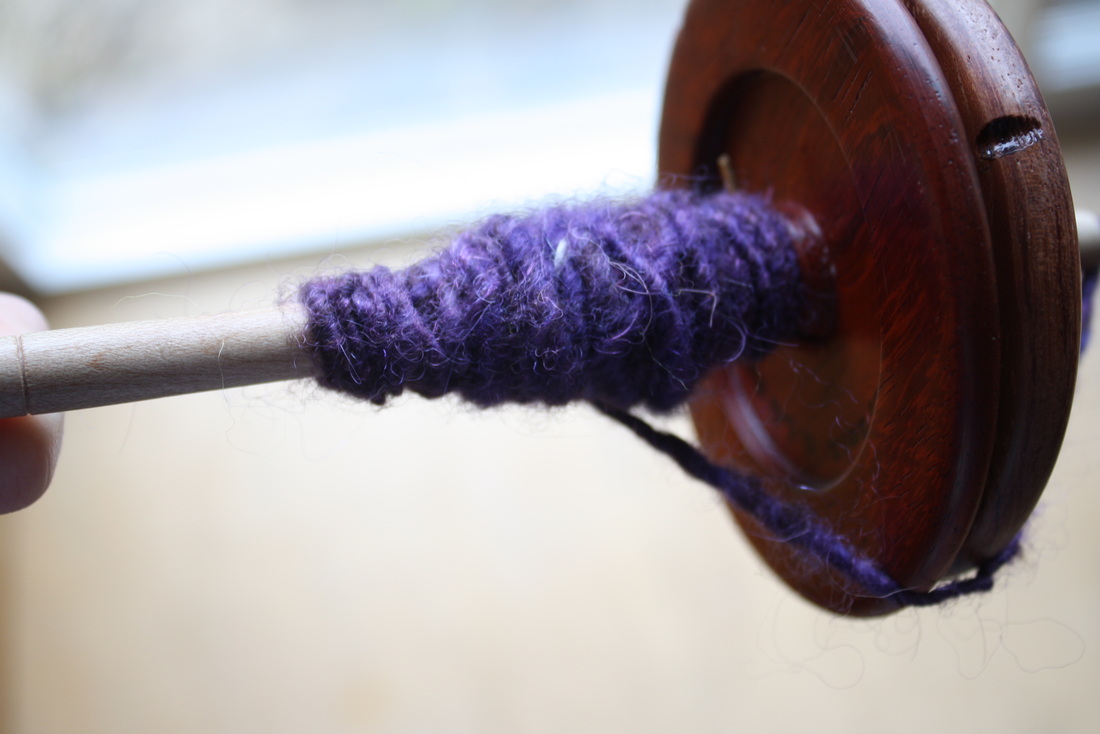
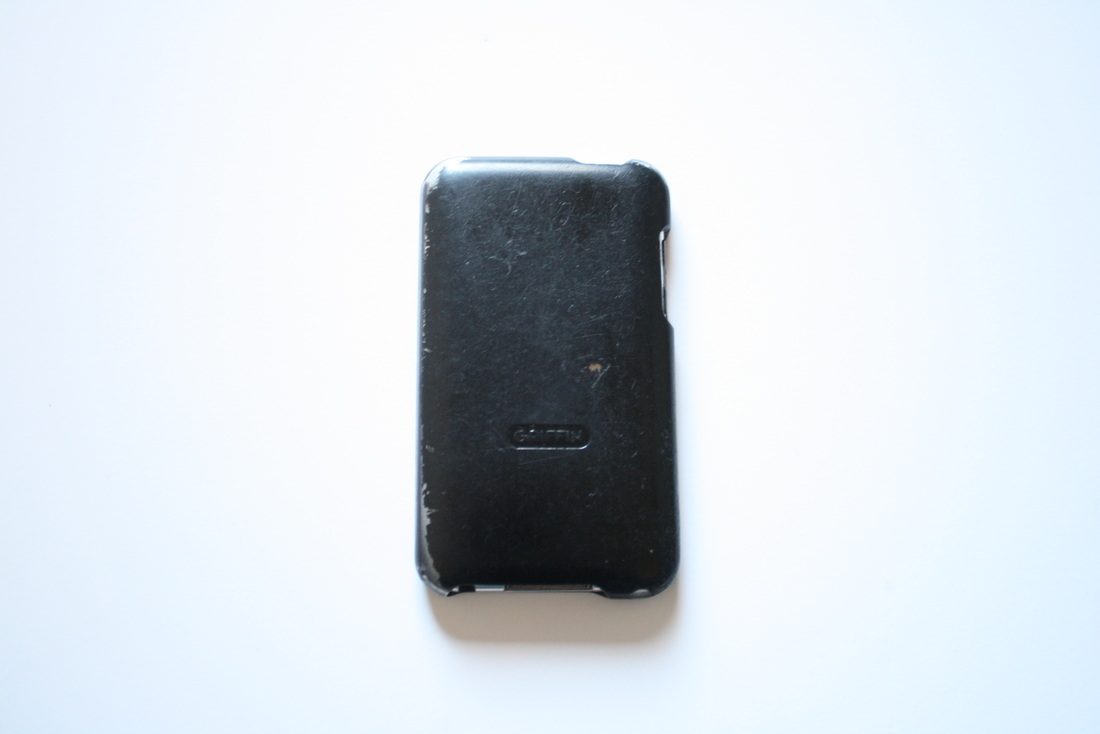
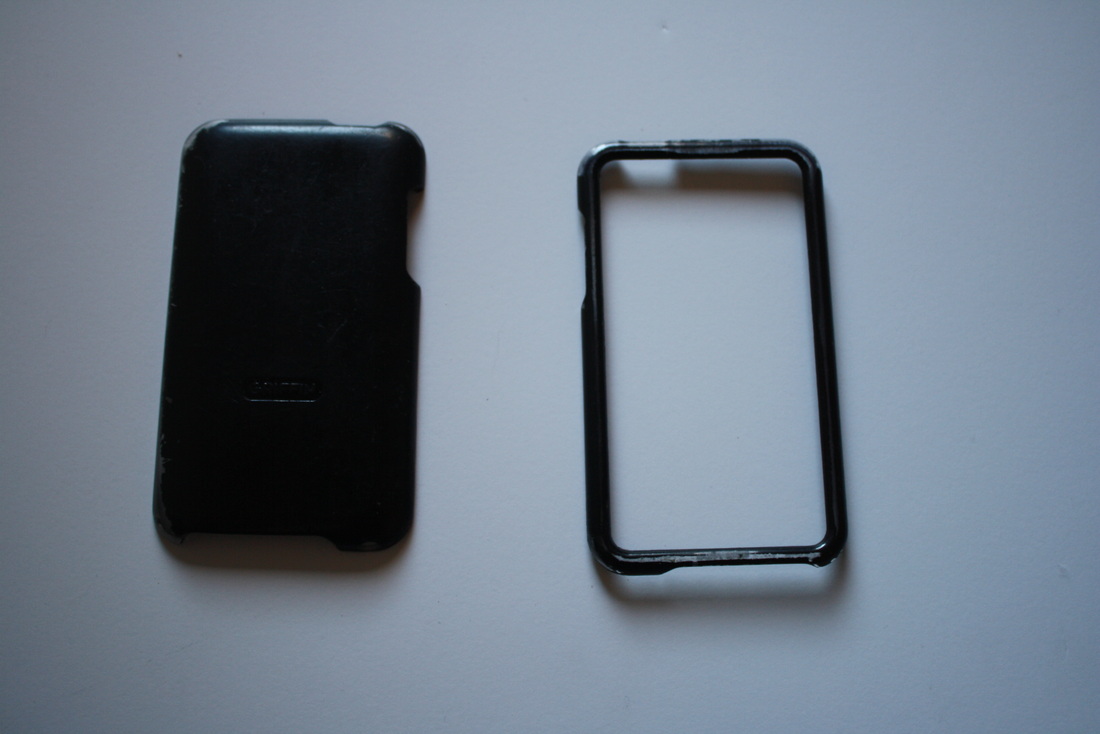
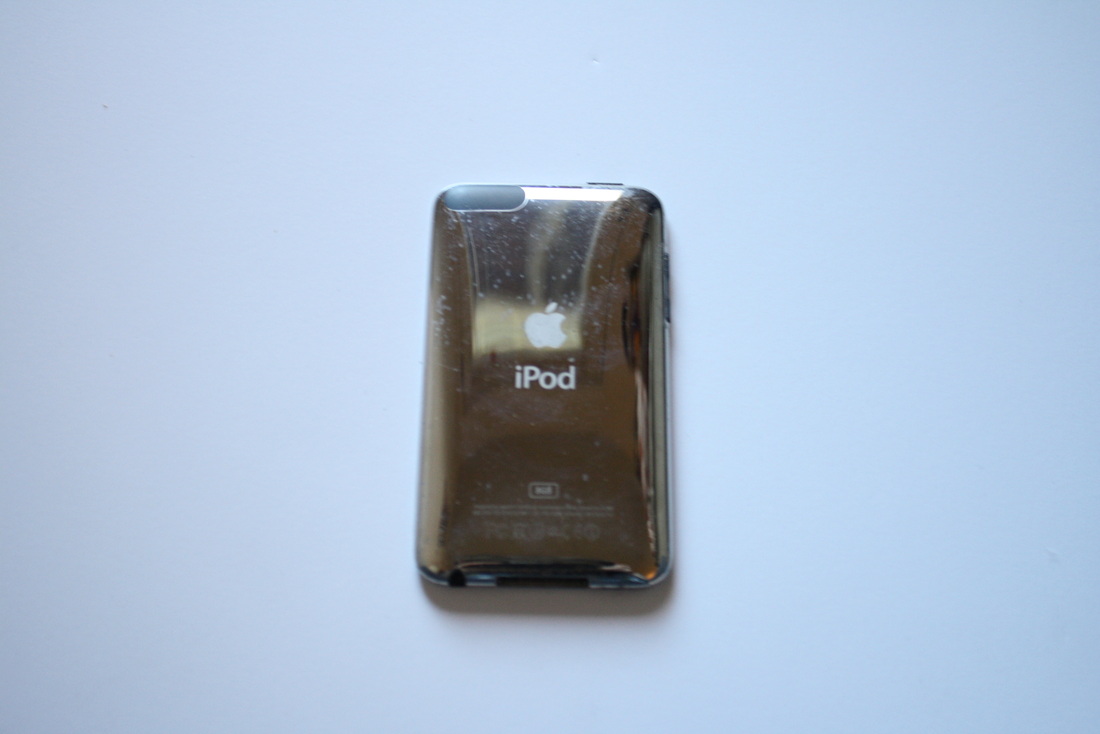
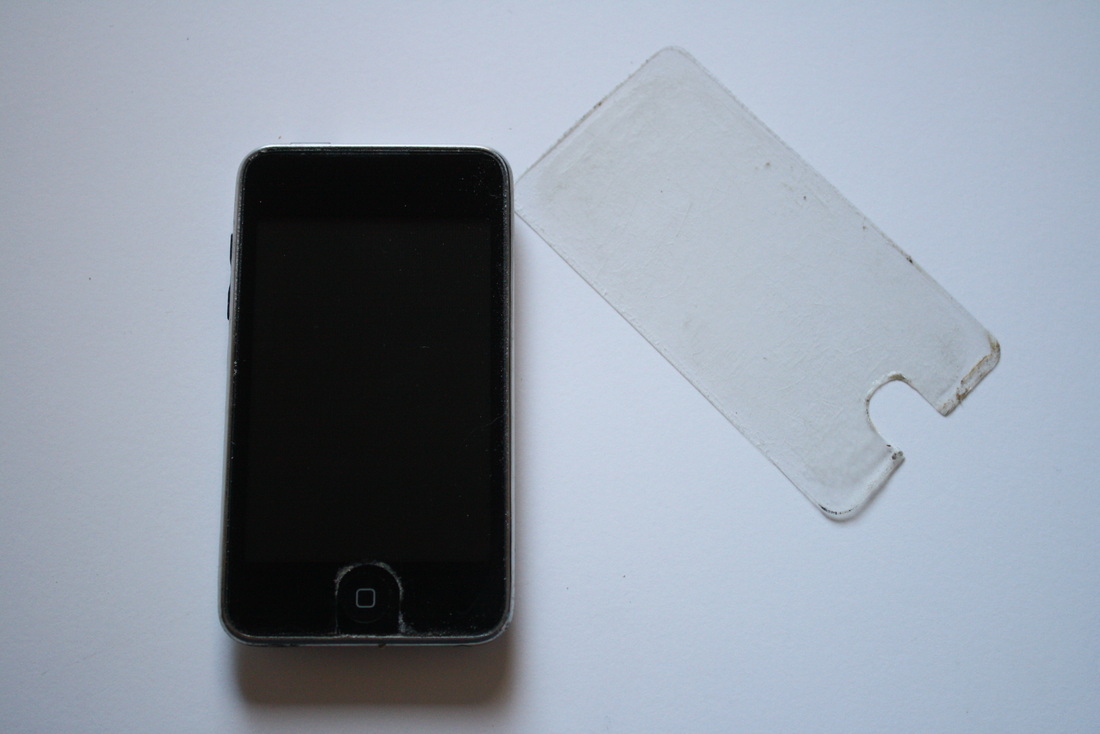
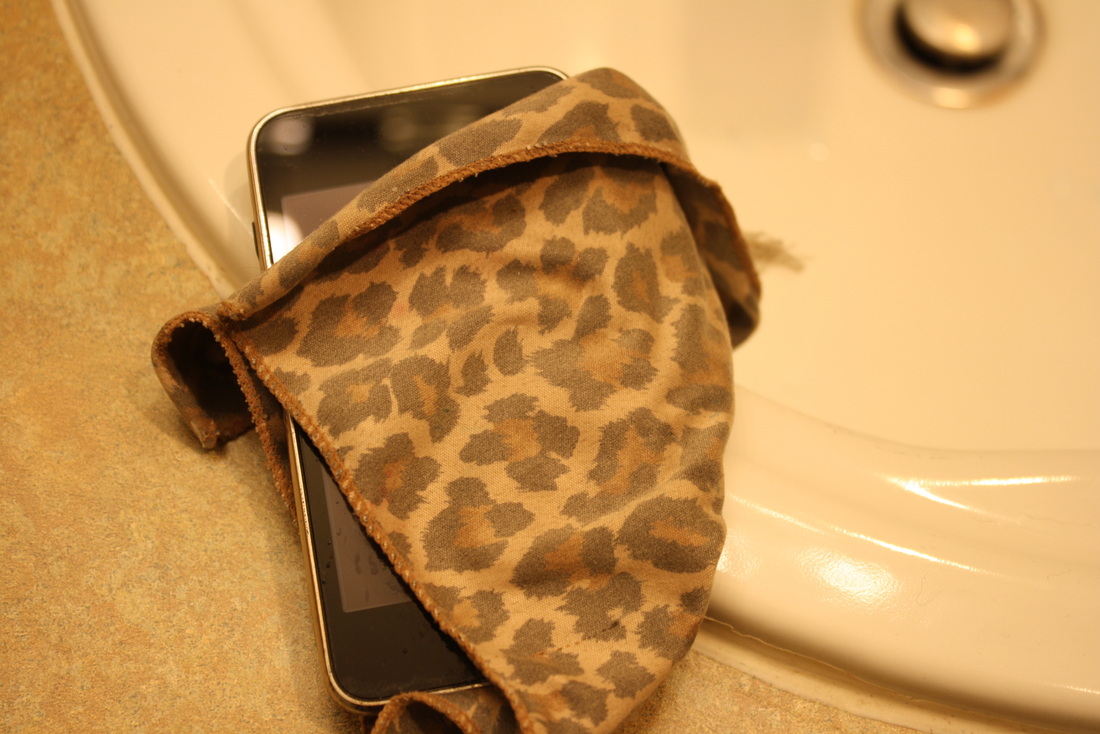
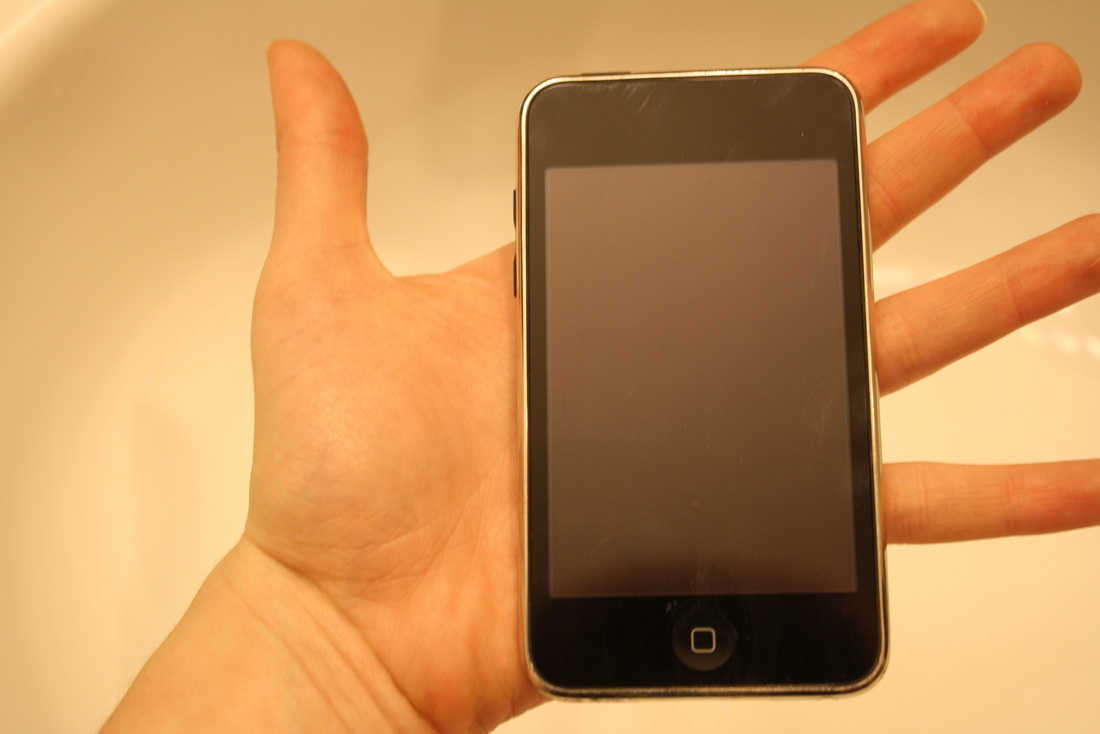
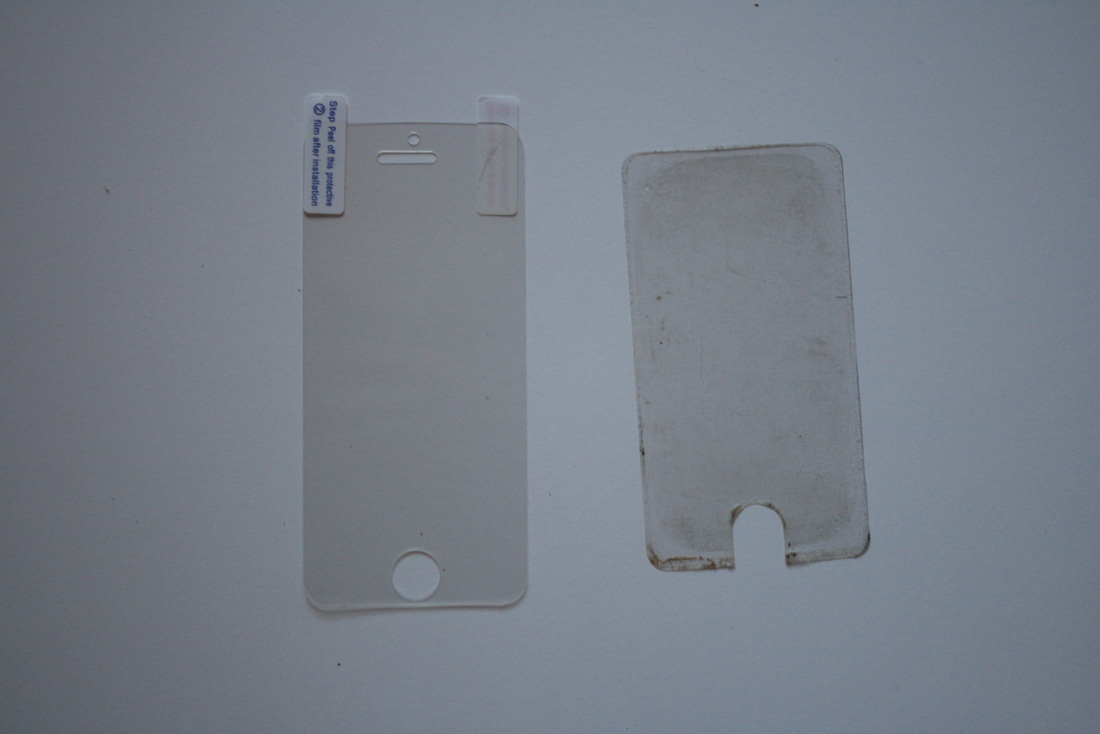
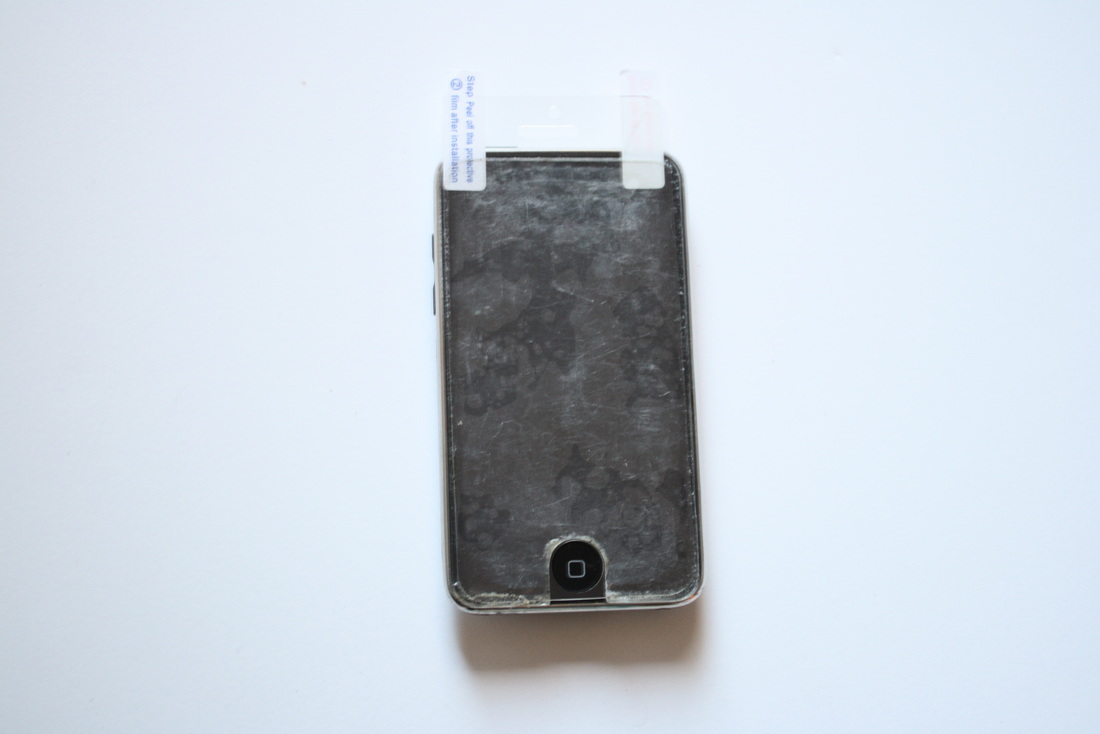
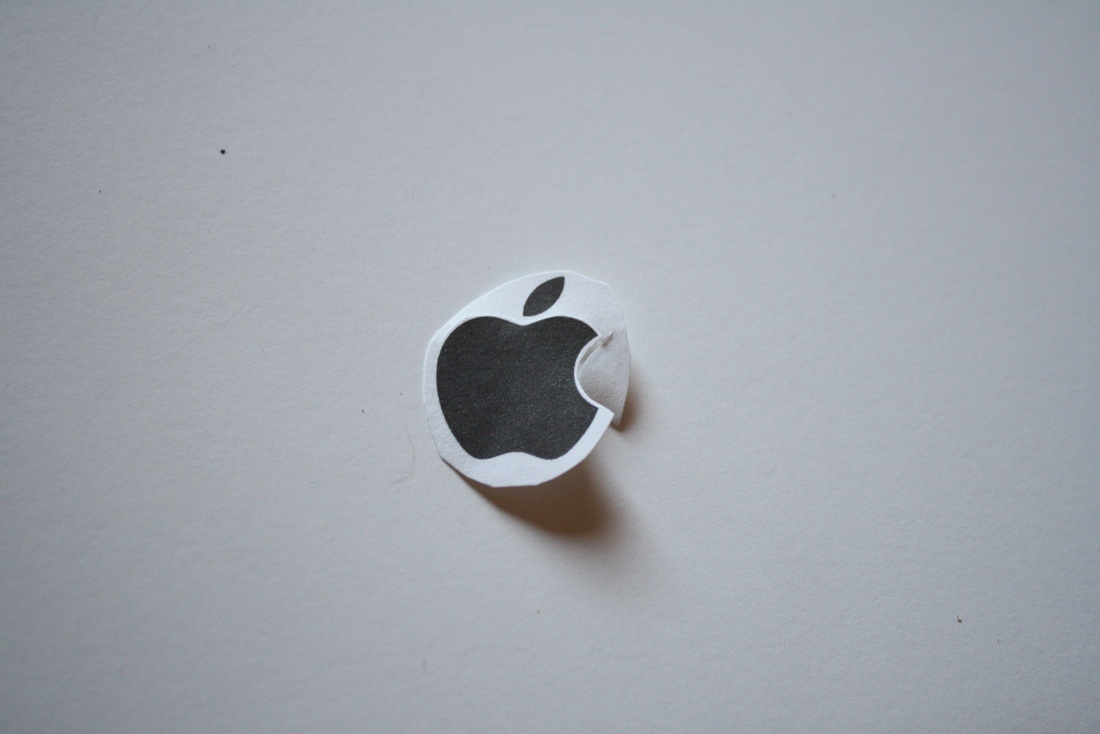
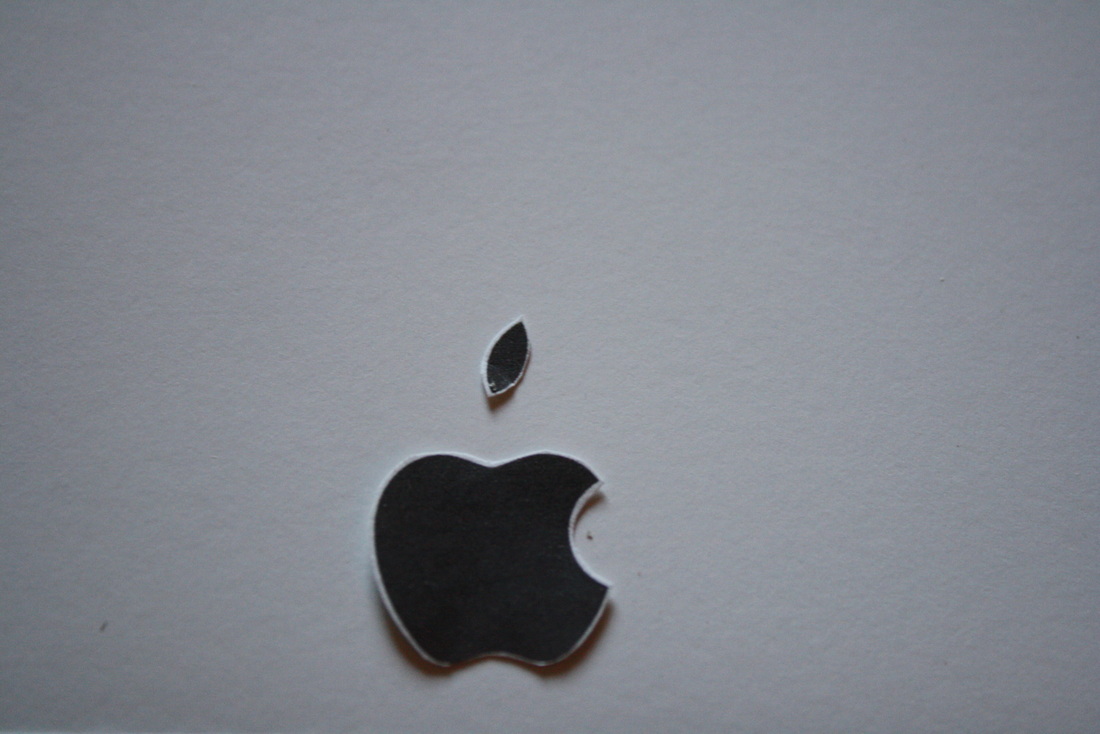
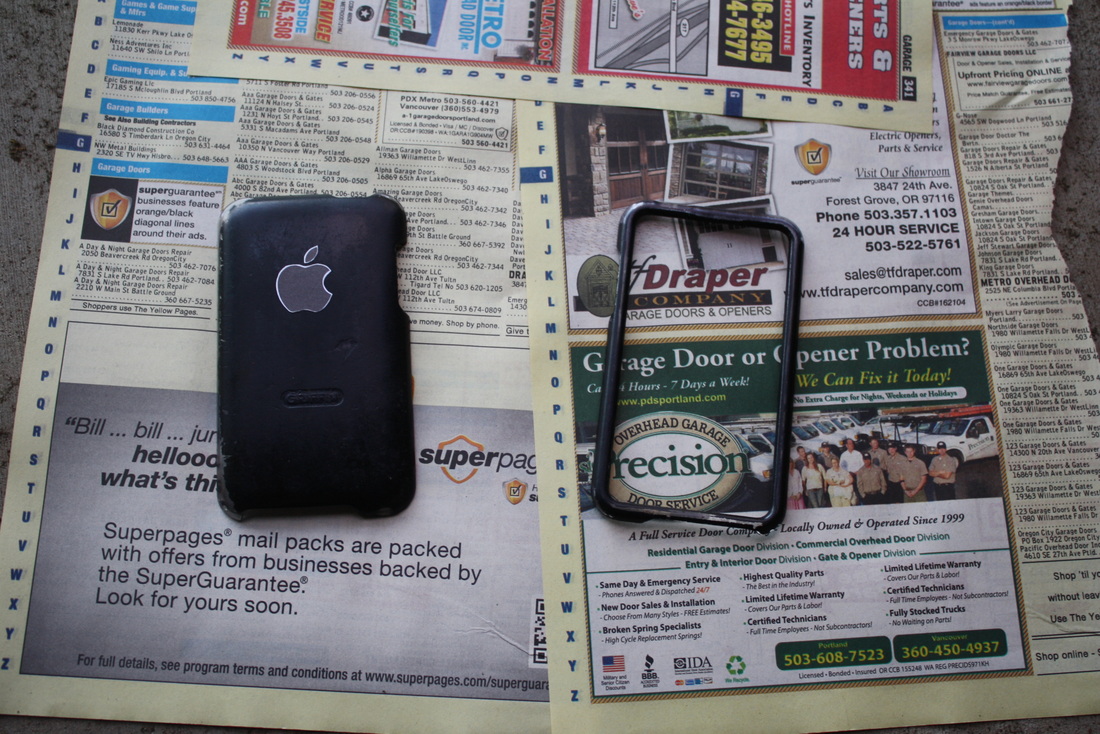
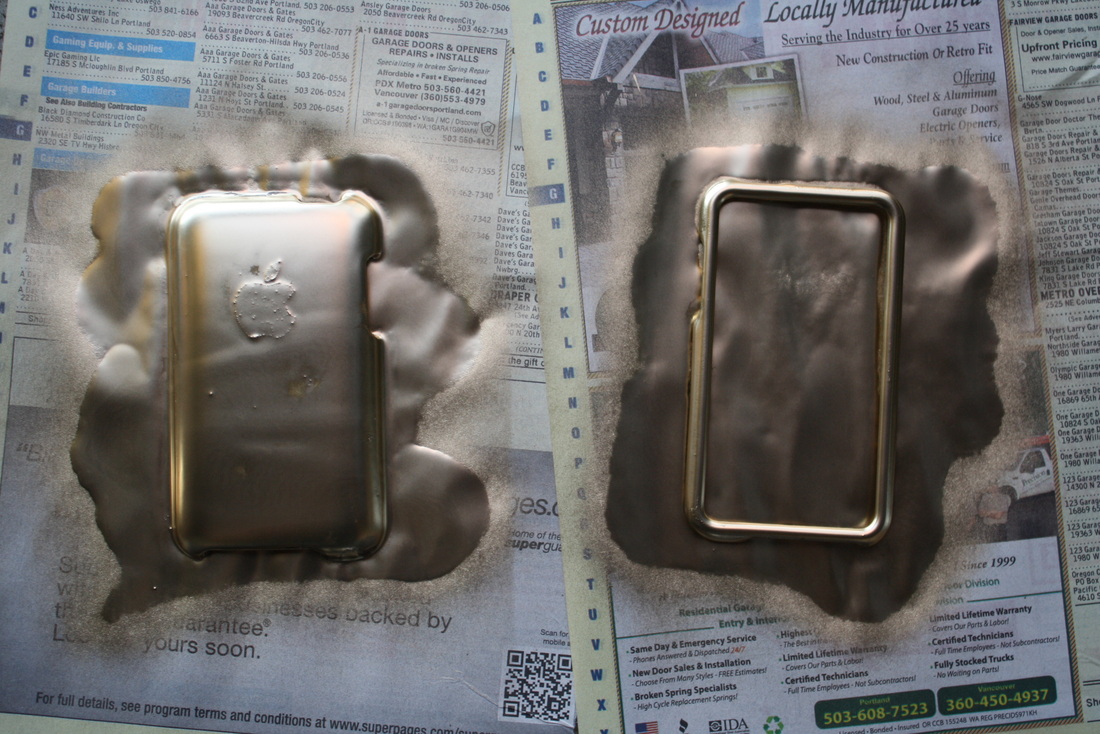
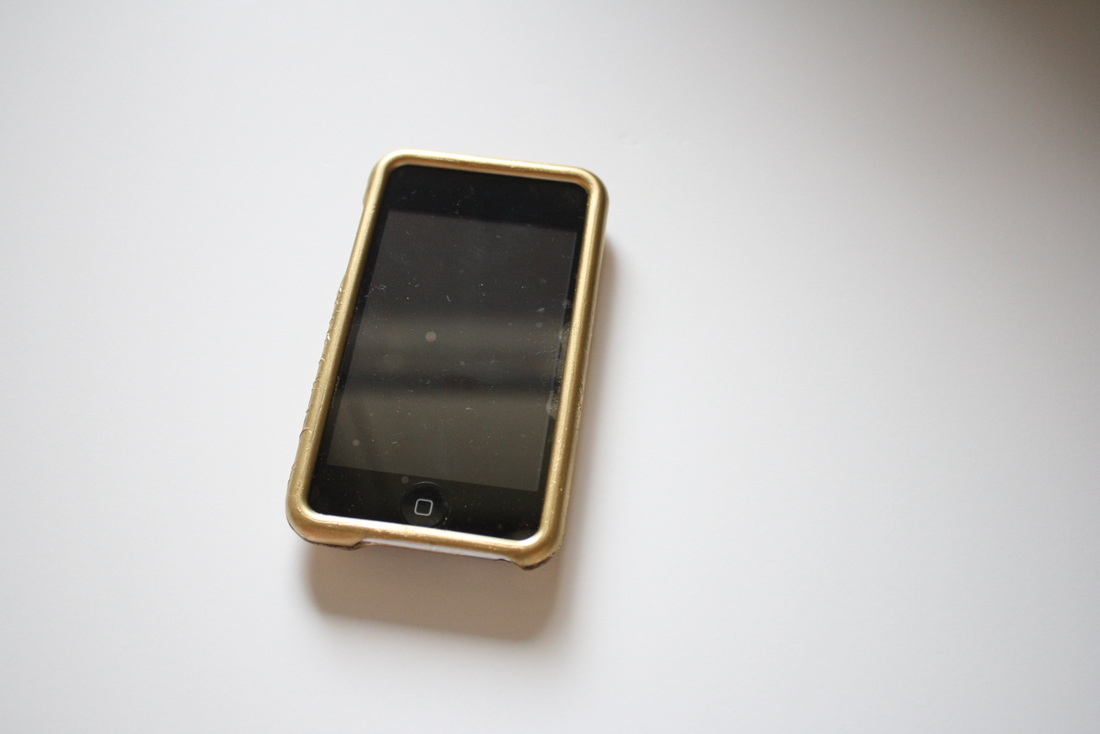
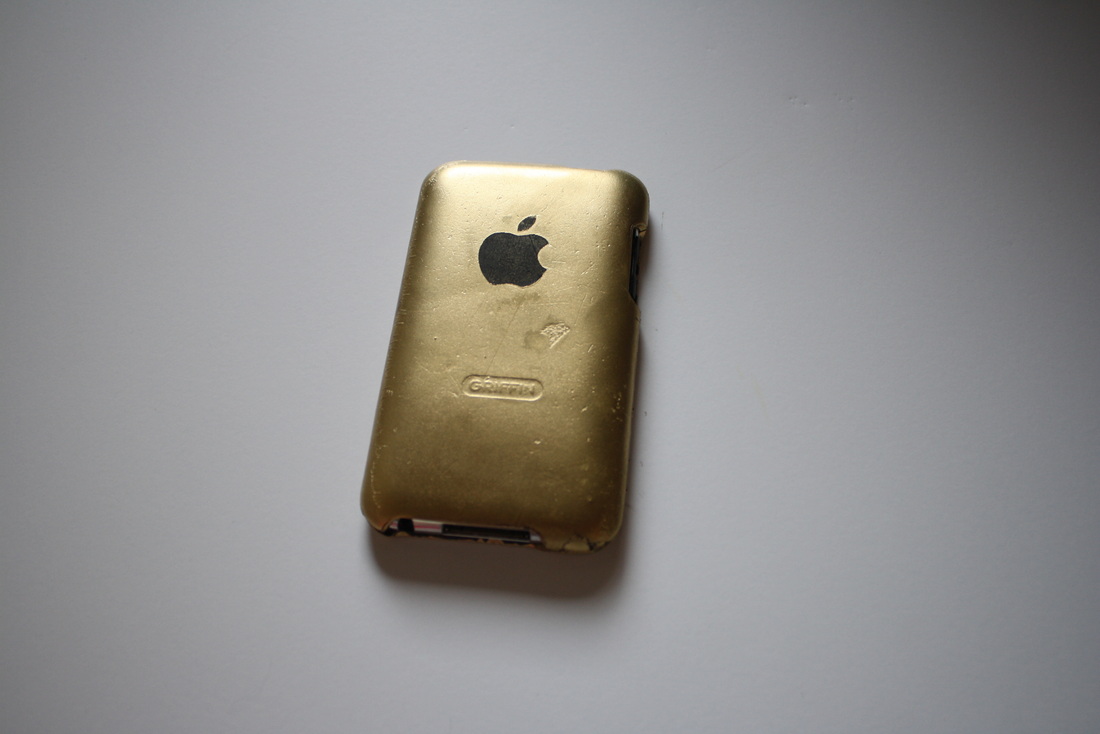
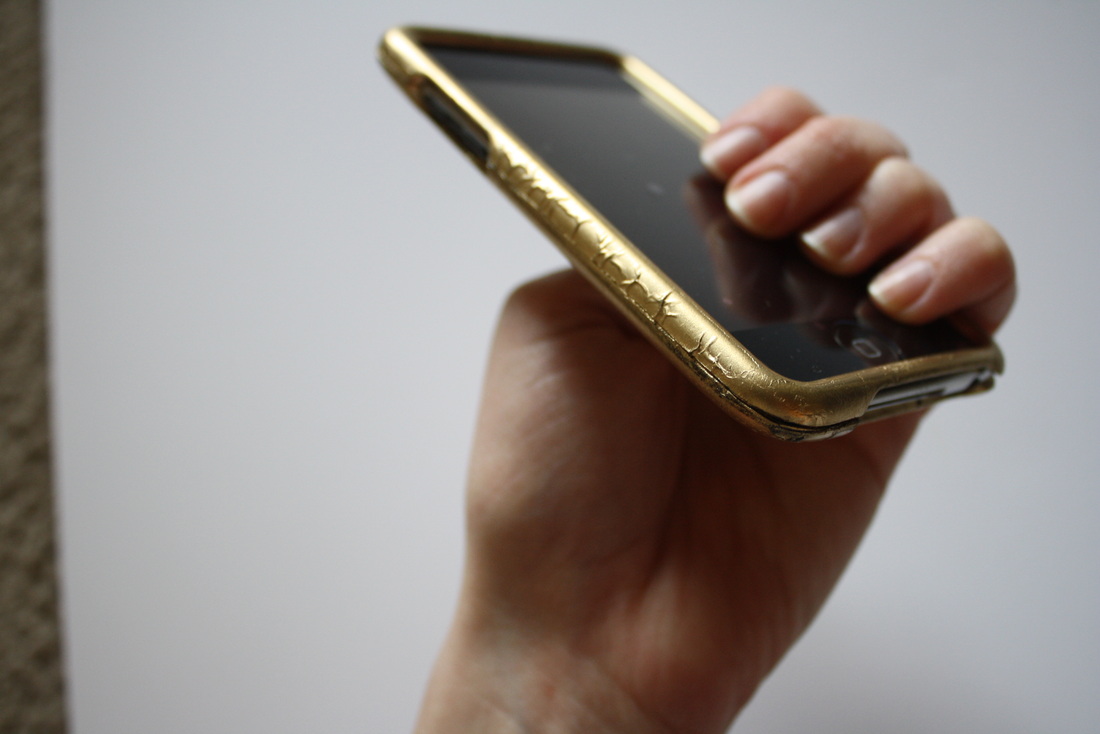
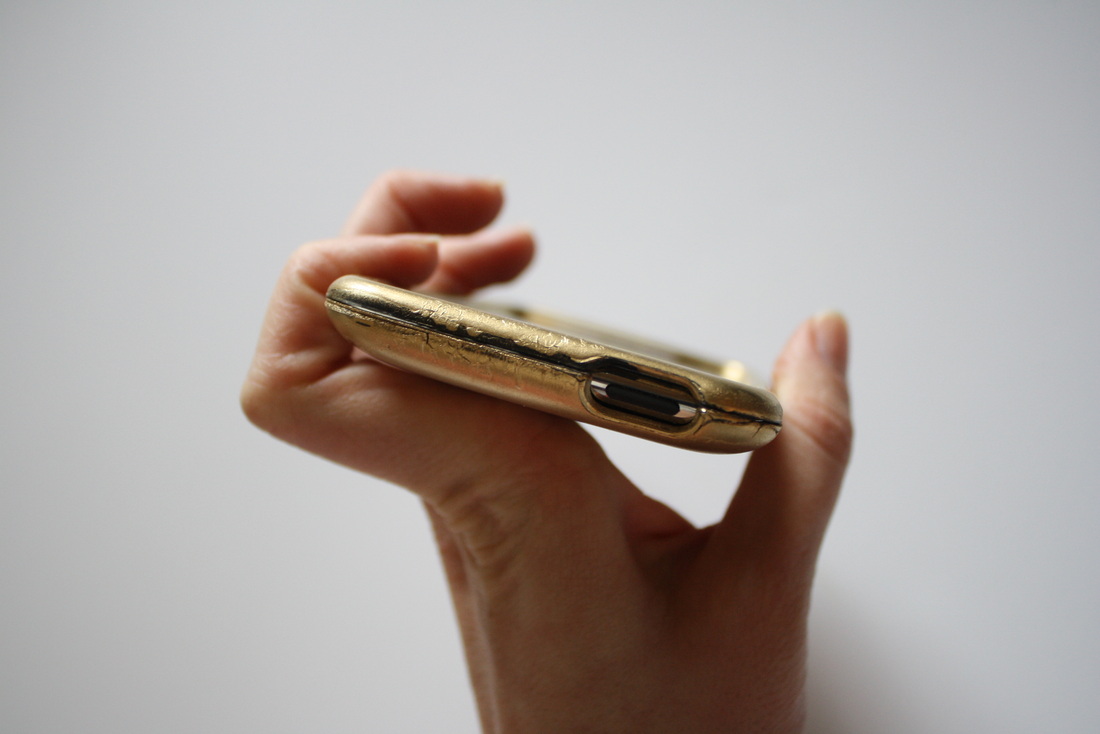
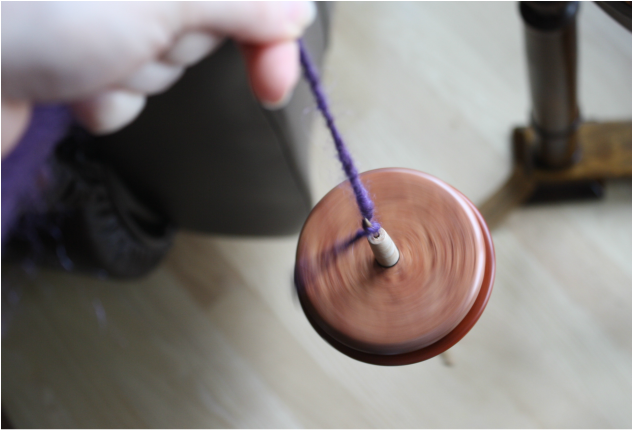 I am not a football person. I maybe watch the superbowl if we have to attend a social gathering for the event. Yesterday I was at said social gathering, with not much to do. The host of our lovely gathering happens to keep sheep, and had mentioned before having a drop spindle. Trapped with nothing else to do I took her up on her offer to teach me. I sort of got the idea, but I also read this instructable and found it very helpful. I am quite excited about my new hobby (come on I've done it for a total of an hour, it counts as a hobby). I wasn't able to spin through the whole super bowl, because I accidentally started watching the game and it was very interesting (also, you know, I had to talk to people). But I am still in possession of the spindle. I am spinning my yarn too tight, but I will work on that with the next batch of fluff. It fills me with joy to try new arts and play with them. Have you tried anything new lately? 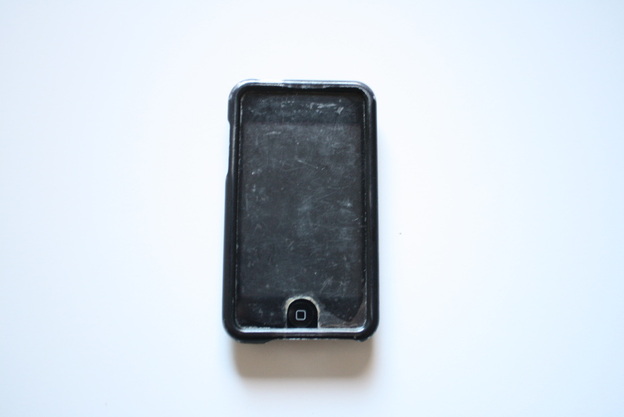 My current ipod isn't pretty. It is an inherited gen 3 (I think). Incompatible with modern apps, but still works fine for living in my car plugged in to the stereo all day. Here is how I prettied it up in under an hour. Scroll over the photos below for details. You will need: - a hard ipod case - new screen protector - spray paint - Optional: sand paper, a sticker or stencil 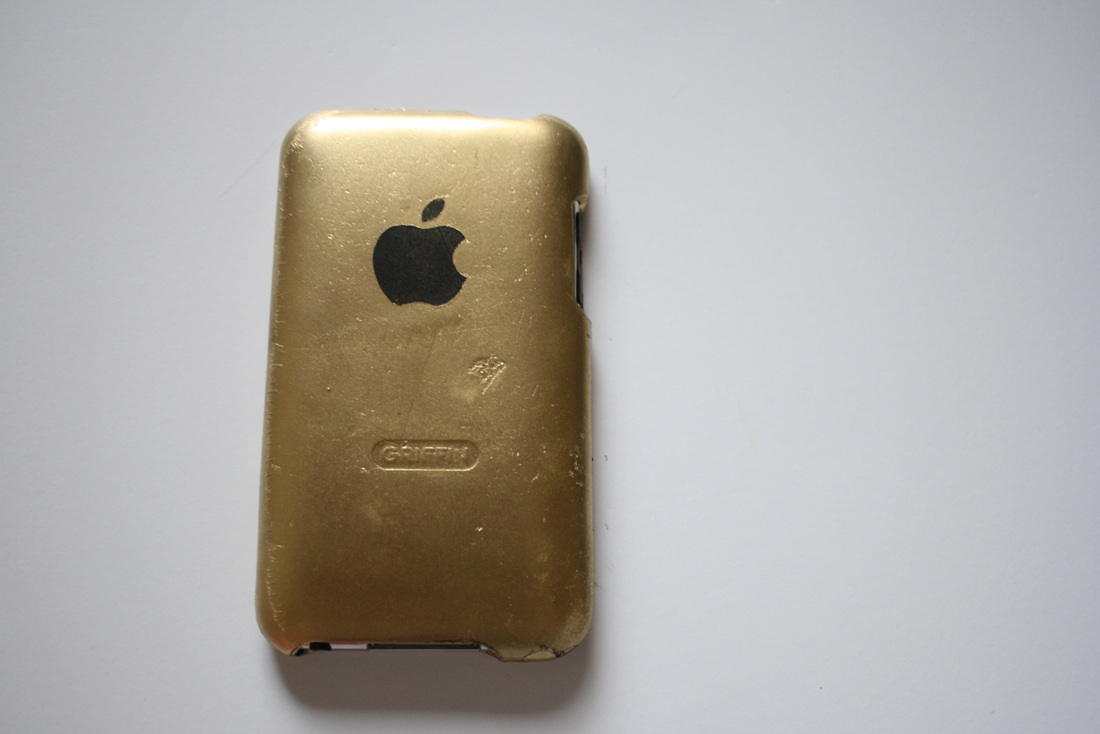 Over all I really like my "new" gold case. The apple is a nice touch, and I don't mind the flaws in the paint job. I wasn't going for perfect, but it certainly is shinier. |

Hello!I'm Sara. I live in Portland, Oregon. I have chickens. I love coffee AND tea, I make stained glass pendants in my basement, and I love adventures and new ways to live. I have an Etsy store as well. Categories
All
^Follow Me on Bloglovin'!
Archives
December 2015
|


 RSS Feed